
How to make AI images look like film
A repeatable way to turn a clean AI render into a film-grade still: direct the light, choose the optics, protect the grade and control texture before adding grain.
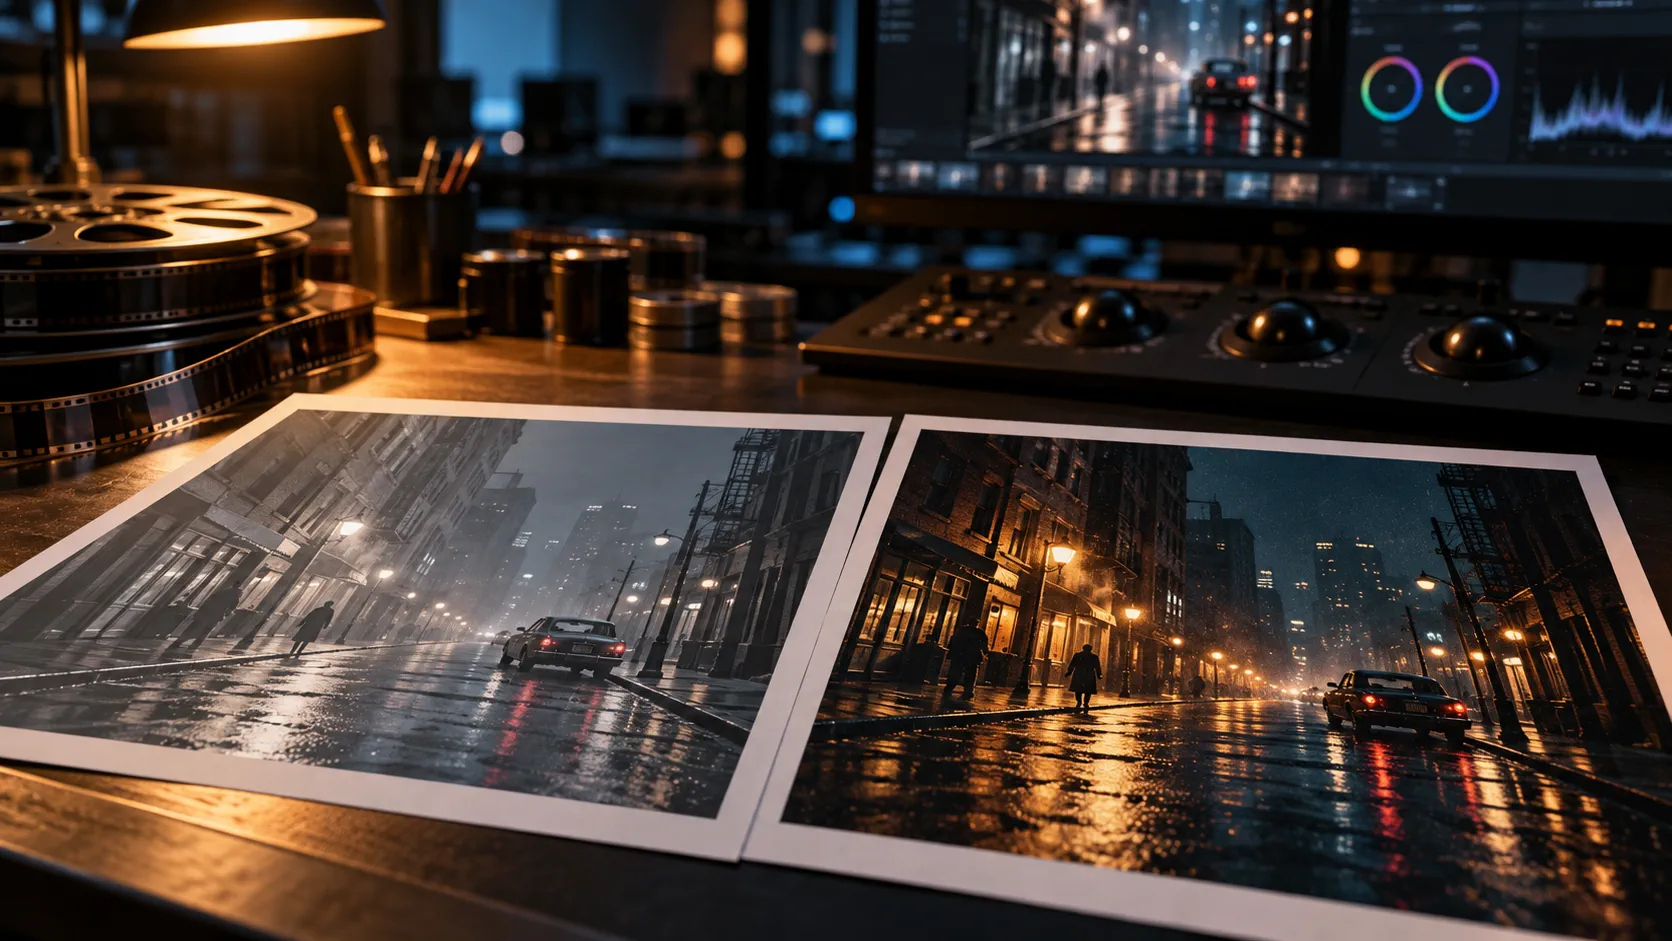
What makes an AI image look like film?
Film does not look cinematic because it contains grain or a teal-and-orange grade. It reads as film because the image records a series of physical decisions: light comes from somewhere, a lens creates depth and falloff, highlights stop before they become white, colour has a bias, and the frame carries a small amount of optical imperfection.
AI images usually look digital when those decisions are missing. A generic prompt such as “cinematic portrait, 8K, highly detailed” gives the model no light direction, no exposure strategy and no film stock to imitate. The result is often evenly lit, over-sharpened and clean in a way that no camera produces naturally.
The reliable workflow is to name the visible evidence of film instead of the adjective. Start with the cinematic lighting setups, add a lens and composition, control the grade through cinematic color grading, then finish with film grain. This page joins those controls into one repeatable image prompt.
Which seven controls create the film look?
Use seven controls in the same order every time: light direction, contrast, lens behaviour, colour bias, highlight roll-off, texture and imperfection. The sequence matters because later choices depend on the first one. A hard sunbeam needs different fill and different highlight handling from a soft window.
- Light direction: name a visible source and say which side of the face or set it reaches. “Warm practical from camera left” is usable; “moody light” is not.
- Exposure and contrast: say what stays readable in the shadow and what is allowed to go dark. A night frame can keep a face three stops down without losing the eyes.
- Lens behaviour: name the focal length, depth of field and one optical trait such as anamorphic flare, field curvature or a slightly soft edge.
- Colour bias: build a small palette with one warm and one cool anchor instead of asking for a “cinematic” grade.
- Highlight roll-off: practical lamps and neon should keep colour in their cores instead of clipping into flat white.
- Texture: use skin, fabric, paint, condensation and dust to give the exposure something real to describe.
- Imperfection: a little halation, gate weave, uneven vignetting or softness removes the machine-clean edge without turning the frame into an effect.
How should you write a film-look AI image prompt?
Write the prompt in five lines: subject and blocking, light, lens and frame, palette, then stock and texture. Keep one dominant look per image. If the prompt asks for sunlight, neon and a practical lamp to lead at the same time, the model averages them and the frame loses its exposure logic.
| Line | Example | What it controls |
|---|---|---|
| Subject + blocking | A lone adult traveler walks away from camera through a wet station platform. | What the frame is about and where the viewer stands. |
| Light | Cool fluorescent tubes overhead, one warm exit sign behind, face in shadow. | Direction, source, contrast and readable information. |
| Lens + frame | 40mm lens at chest height, deep focus, 2.39:1, slight edge softness. | Perspective, depth and cinematic geometry. |
| Palette | Steel blue, faded concrete, restrained amber highlight. | A controlled colour relationship rather than a global filter. |
| Stock + texture | 500T-style negative, gentle halation, fine grain, protected highlights. | Contrast, colour response and the physical finish. |
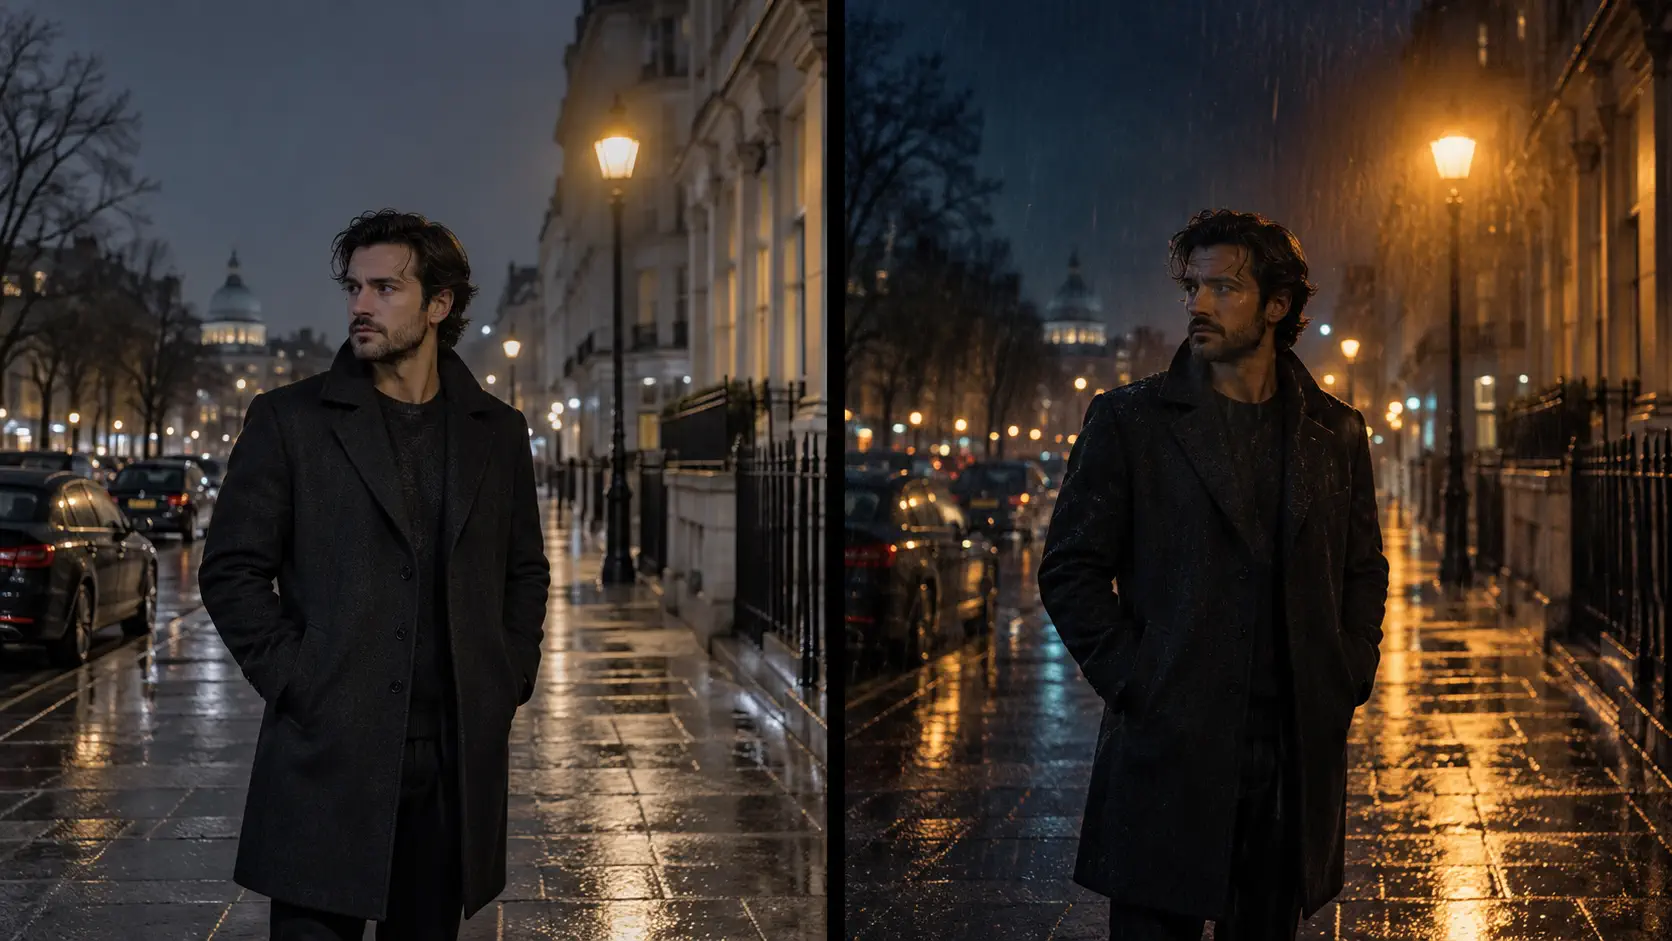
How do you keep the film look across a sequence?
Keep the stock line, palette line and light logic fixed while changing only subject blocking and camera position. A sequence is not consistent because every image is individually cinematic; it is consistent because the second frame contains evidence of the same location, optics and grade as the first.
Lock the character with Soul ID and the accent colour with Palette Lock. Then reuse the same grain, contrast and lens language in every prompt. The six-frame workflow in the AI camera angle guide shows how to change viewpoint without resetting identity.
- Render a 2K look-development frame with one clearly named light source.
- Keep the subject, wardrobe, palette and stock lines unchanged.
- Change only the camera height, distance or which side holds the key.
- Compare highlights across the set; the same practical should roll off the same way.
- Check shadow detail at thumbnail size, then inspect skin and fabric at full size.
- Save the approved five-line brief as the master for the rest of the scene.
What should you test before rendering a full set?
Test the frame at three viewing sizes before spending on a sequence: thumbnail, deck size and 100 percent crop. A grade can look convincing in a large preview and collapse when the image becomes a cover thumbnail; shallow focus can be elegant at full size but leave no readable subject when scaled down.
Run the same scene at 2K and inspect the eyes, hairline, fabric folds, practical-light cores and background falloff. If the skin becomes plastic or the lamp turns into a white shape, the film language is being applied as a finish instead of being built into the exposure.
- Thumbnail: is there one dominant light and one readable subject?
- Deck size: do the shadows retain shape rather than turning into a black cutout?
- Close crop: are pores, hair and fabric visible without aggressive sharpening?
- Highlight test: can you still identify the colour inside the brightest practical?
- Continuity test: does a second angle still feel like the same room and film stock?
Why do common “cinematic” prompts still look digital?
They usually describe a finish but no cause. “Cinematic, dramatic lighting, ultra detailed, 8K” tells the model to make an impressive image without deciding where light originates, how much fill remains or what the lens does at the edge of frame. The model fills those gaps with its default idealised look.
A second common failure is excess sharpening. Film has resolution, but it does not put a crisp line around every strand of hair. Ask for natural optical softness and then inspect the eyes and skin at full size. Contrast without texture becomes HDR; texture without controlled highlights becomes noise.
How do you apply the workflow in Soul Cinema?
Use the Soul Cinema console to render a 2K test from a five-line brief, then keep the accepted shot as the visual reference for the sequence. The cinematic AI image prompts page expands the light and lens vocabulary, while Soul Cinema prompts explains how to order each line for this console.
If the first frame is close but not right, change one line and render again. Keep the subject and blocking fixed while you test the light; keep the light fixed while you test the grade. That discipline tells you which instruction did the work and prevents a full sequence from drifting away from the look you approved.
Once the look is stable, isolate the next variable: AI film stock prompts for the stock response, AI depth of field prompts for focus and falloff, and cinematic composition AI for blocking and depth layers.
Frequently asked
How do I make AI images look like film?
Name the physical causes of the look: a motivated light source, readable shadow detail, a real focal length, a restrained palette, highlight roll-off, natural texture and slight optical imperfection. A checklist of five prompt lines produces a more consistent film look than words such as cinematic alone.
Does adding film grain make an AI image look cinematic?
Not by itself. Grain only works after the frame has directional light, believable contrast and a controlled grade. Grain over a flat, evenly lit image reads as noise; grain over a frame with motivated exposure reads as a film stock.
Which film stocks should an AI prompt name?
A stock family is more useful than an exact claim of emulation. Kodak Vision3 tungsten-balanced 500T is a natural reference for warm practicals and night exteriors, while daylight-balanced 250D suits daylight work. Keep the description about colour response, contrast and grain rather than promising a perfect lab emulation.
Can I keep the same film look across several AI images?
Yes. Freeze the light logic, lens, palette and stock lines, then change only camera position and blocking. Soul ID can hold the character and Palette Lock can hold an accent colour, while the repeated prompt language keeps the grade consistent.
Why does my cinematic AI image look over-sharpened?
The prompt probably asks for ultra-detailed or 8K without describing natural optics. Remove sharpness superlatives, state the lens and depth of field, ask for protected highlights and inspect the eyes, skin and fabric at 100 percent before approving the image.
Your first cinematic frame is one prompt away
Sign in with Google, pick a plan and keep every still at the resolution the model produced. Plans from $12/month, cancel at any time. No watermark, no re-encode.