
AI camera angle prompts for cinematic shots
Eighteen camera-angle blocks that control height, distance, lens and eyeline, plus a six-angle workflow for keeping one scene and one cast consistent.
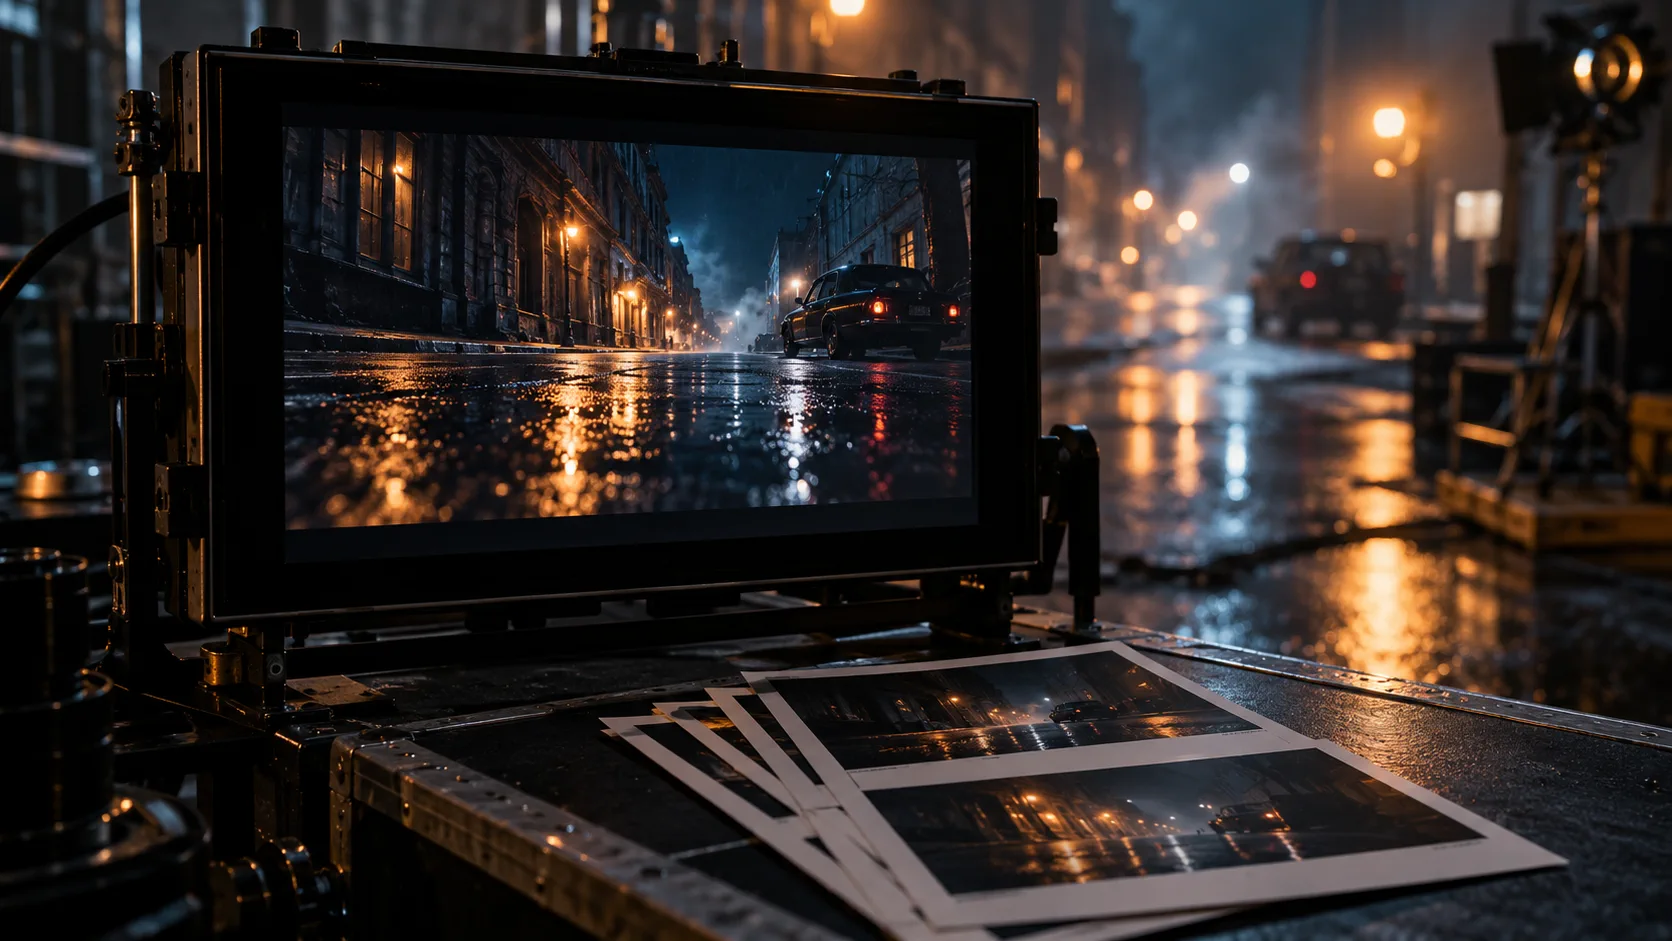
What does an AI camera angle prompt control?
An AI camera angle prompt controls where the camera sits in relation to the subject, how much of the body and room enters the frame, and how the viewer reads power, intimacy and space. The angle is not one word. It is a joint decision between camera height, distance, lens, subject direction and the light that makes the chosen viewpoint believable.
A useful prompt pairs the angle with its purpose. “Low angle” alone gives the model a direction; “low angle from knee height, 24mm lens, subject filling the right third against a wet neon ceiling” gives it a composition. That difference is what separates a camera position from a cinematic shot.
18 AI camera angle prompts you can adapt
These prompts are short camera blocks. Add them to the subject, light and palette lines of a five-line shot brief. Keep the wording concrete and change one variable at a time when testing a sequence.
| Angle | Prompt block | Use it for |
|---|---|---|
| Eye-level | eye-level, 50mm, subject looking just off camera | Neutral dialogue and direct portraiture |
| Low hero | low angle from knee height, 24mm, upward background lines | Power, arrival and scale |
| Ground-level | camera resting on wet ground, 18mm, foreground reflection | Threat, texture and atmosphere |
| High angle | high angle from a stair landing, 35mm, subject small in frame | Vulnerability or isolation |
| Overhead | top-down overhead, 28mm, symmetrical blocking | Graphic order, tables and isolation |
| Dirty over-shoulder | over-shoulder from behind the listener, 50mm, shoulder soft in foreground | Conversation and point of view |
| Profile | true profile, 85mm, nose clear of the cheek line | Contemplation and graphic portraiture |
| Three-quarter | three-quarter portrait, 85mm, eyes to camera | Classic editorial intimacy |
| Wide establishing | wide establishing shot, 24mm, figure in lower third | Place, scale and geography |
| Long lens isolation | 135mm compression, subject separated from a crowded background | Pressure and privacy in a crowd |
| Dutch angle | subtle 8-degree Dutch tilt, 35mm, horizon leaning through frame | Instability without visual chaos |
| Reverse angle | reverse angle from the opposite side of the room, 40mm | A new geography inside one scene |
| Close-up | tight close-up, 85mm, eyes on upper third, shallow focus | Decision and emotional shift |
| Extreme close-up | macro detail of hands and fabric, 100mm | Clues, tension and texture |
| Medium two-shot | medium two-shot, 40mm, clean gap between faces | Relationships and blocking |
| Back view | from behind the subject, 35mm, destination visible beyond them | Journey, secrecy and entering space |
| Reflection | camera angle into a mirror, 50mm, subject reflected but not facing camera | Interiority and split identity |
| POV | first-person POV, 24mm, hands just visible at frame edge | Immediacy and subjective experience |
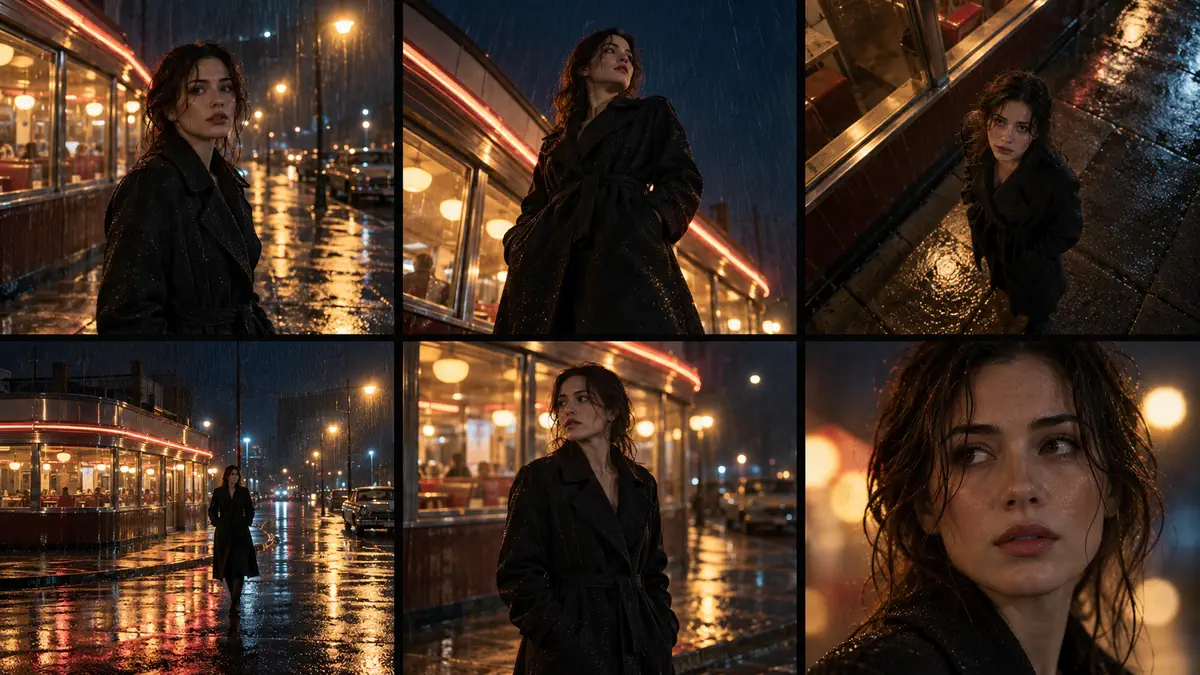
How do camera height, distance and lens work together?
Height changes the audience’s relationship to the subject. Camera below eye level makes a person occupy more vertical space; camera above eye level compresses the body and exposes the floor, which often reads as vulnerability or surveillance. Distance then decides whether the viewer is observing, sharing or intruding.
The lens changes the feeling of that distance. A 24mm lens exaggerates nearby foreground and stretches depth, while an 85mm or 135mm lens compresses the background and makes a small camera move feel significant. Naming both is essential because “close-up” with a 24mm lens and “close-up” with an 85mm lens are visibly different images.
- Use 18–28mm when the room should feel larger, unstable or physically close.
- Use 35–50mm when blocking and body language matter more than distortion.
- Use 85–135mm for compression, selective focus and a more observational intimacy.
- Keep the subject’s eyeline consistent across a sequence unless the turn is the story beat.
- State which foreground object can cross the frame; it prevents accidental clean compositions.
Which camera angle should you use for a scene?
Choose the angle from the scene’s power shift, not from a list of impressive terms. If one character needs to dominate a room, start low and wide, then move to eye-level when the balance changes. If the scene is about isolation, a high angle with negative space can say more than a dramatic close-up.
A practical workflow is to sketch coverage before writing prompts: one establishing angle, one medium angle for the relationship, one close-up for the decision and one reaction angle. Four purposeful views are easier to keep consistent than ten decorative angles. The same discipline applies to stills, storyboards and coverage for a future video.
- Opening the scene: wide or medium-wide so the audience learns the geography.
- Negotiation or conflict: eye-level over-shoulder for an equal field.
- A character taking control: move lower, reduce distance or use a wider lens.
- A character losing control: move higher, add negative space or use a longer lens.
- The decisive line: a close-up with a consistent eyeline and one clear light source.
How do you test six angles without losing the character?
Lock the identity and wardrobe before you test the camera. Build one reference portrait, write the face and clothing description once, and repeat that block in every prompt. The camera block can change; the identity block should not.
Render the first test at 2K. Start with an eye-level medium shot, then move to low wide, high wide, profile, over-shoulder and close-up. Judge the set as a sequence: the same person, wardrobe, time of day and light direction should survive every angle. If one frame changes hair color or coat length, the reference is too weak or the prompt has introduced a conflicting detail.
- Keep one sentence for face, hair and wardrobe identical across all six prompts.
- State the light direction relative to the subject and keep it fixed.
- Change camera height first, then distance, then lens; one variable per render.
- Use a neutral reference frame to compare skin, black level and fabric.
- Promote only the angles that hold identity before increasing resolution.
What are common camera-angle prompt mistakes?
The first mistake is stacking contradictory viewpoints. “Low angle, overhead, over-the-shoulder close-up” forces the model to average ideas that cannot coexist. The second is forgetting the environment: an angle that does not reveal the ceiling, floor or background object leaves the model free to invent a different room on every render.
The third mistake is treating lens language as decoration. If every prompt says “cinematic 35mm” but the desired images alternate between compressed portraits and distorted wide shots, the prompt is not controlling the result. Write the angle and lens as a pair, and specify what should be visible at the edge of the frame.
- Contradictory camera positions in one prompt.
- No foreground or background reference to anchor the perspective.
- Changing hair, wardrobe and camera angle in the same iteration.
- Using “dynamic angle” without naming height, direction or lens.
- Ignoring eyeline continuity across a sequence.
- Rendering every test at 8K before the coverage works at 2K.
How do you turn these prompts into a repeatable shot brief?
Use five lines: subject and action, light, camera, palette and stock. The camera line holds the angle, height, distance and lens. The light line stays stable while the camera changes. This gives the model enough control to create a different view of the same moment instead of a different scene.
The broader structure is explained in cinematic AI image prompts and the product-specific version is in Soul Cinema prompts. When the camera test becomes a story sequence, turn the coverage into a shot-list image set.
- Subject: the same adult actor, wardrobe and action in every frame.
- Light: one motivated source, direction and falloff.
- Camera: height, angle, distance and focal length.
- Palette: two dominant colours and one accent.
- Stock: film texture, grain and contrast.
Frequently asked
What is an AI camera angle prompt?
It is the part of an image prompt that states camera height, direction, distance and lens. A useful version also describes the foreground, eyeline and background so the model understands the spatial relationship.
Which camera angle is best for AI images?
There is no universal best angle. Eye-level is the clearest neutral choice, low angles increase power and scale, high angles increase vulnerability or overview, and overhead angles create graphic order. Choose by the scene’s intended relationship.
Should I name a lens in every camera prompt?
Yes when the lens affects the result you need. A 24mm wide shot and an 85mm close-up create different perspective and background compression, so pairing lens with distance is more reliable than naming a shot size alone.
How do I keep the same character across different angles?
Use one strong reference image, repeat an identical face and wardrobe sentence, and change only the camera block. Compare the light, hair and clothing across the set before rendering larger files.
Can I use camera angle prompts for video?
Yes. The camera vocabulary transfers to image-to-video prompts, but motion adds timing, movement and continuity decisions. A consistent still frame is the safest reference for the first motion test.
How many angles should one scene have?
Start with four purposeful views: an establishing angle, a medium relationship angle, a close-up for the decision and one reaction. Six frames are enough for a compact sequence without creating redundant coverage.
Your first cinematic frame is one prompt away
Sign in with Google, pick a plan and keep every still at the resolution the model produced. Plans from $12/month, cancel at any time. No watermark, no re-encode.