
Cinematic lighting: the cheat sheet for AI prompts
The ten setups that read at a glance, the five variables in order, and the working light line - a lighting cheat sheet written as prompts instead of vibes.
What makes light cinematic
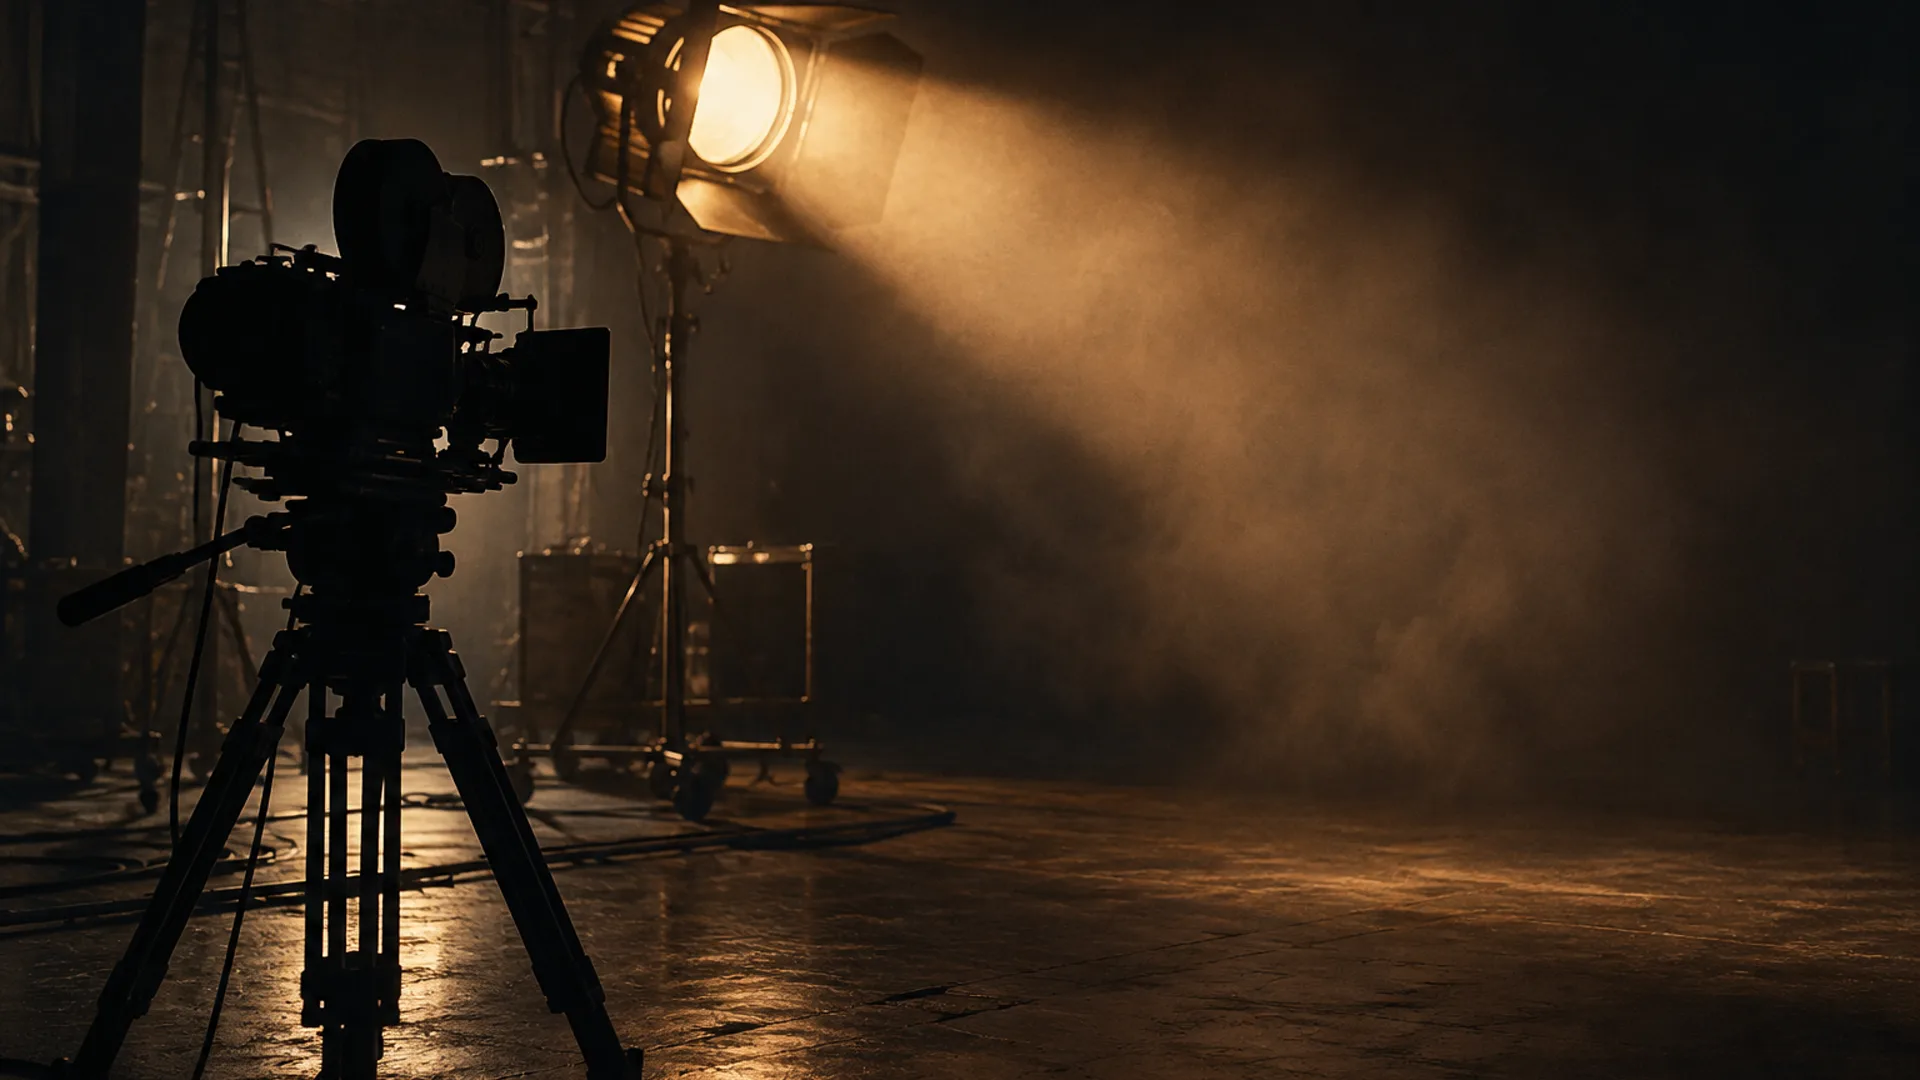
Cinematic lighting is not a filter and not an amount of darkness. It is a decision chain with an order: where the light comes from, what quality it has, how much shadow it leaves, and what colour it burns. Get the order right and a bright kitchen reads as film; skip it and a night street reads as a render.
Five variables are worth naming, because a prompt that names them stops being a mood board and becomes a set:
- Motivation - a source the audience can believe: a window, a lamp, a sign, a fire. Light with a reason reads; light with no reason reads as glow.
- Direction - one dominant side, named in frame terms: from frame left, behind the subject, overhead through a doorway.
- Quality - hard or soft, and where the shadow edge sits. A hard key draws edges; a soft key draws a wrap.
- Ratio - how far the shadow side falls below the key, in plain words: deep falloff, mostly shadow, one stop down.
- Colour - two temperatures at most. One warm source against a cool ambience is the whole trick behind most night looks.
The types that read at a glance
Most searches for the types of cinematic lighting are really asking for setups - named recipes you can steal. These ten cover the ground from portrait to street, in prompt-sized bites:
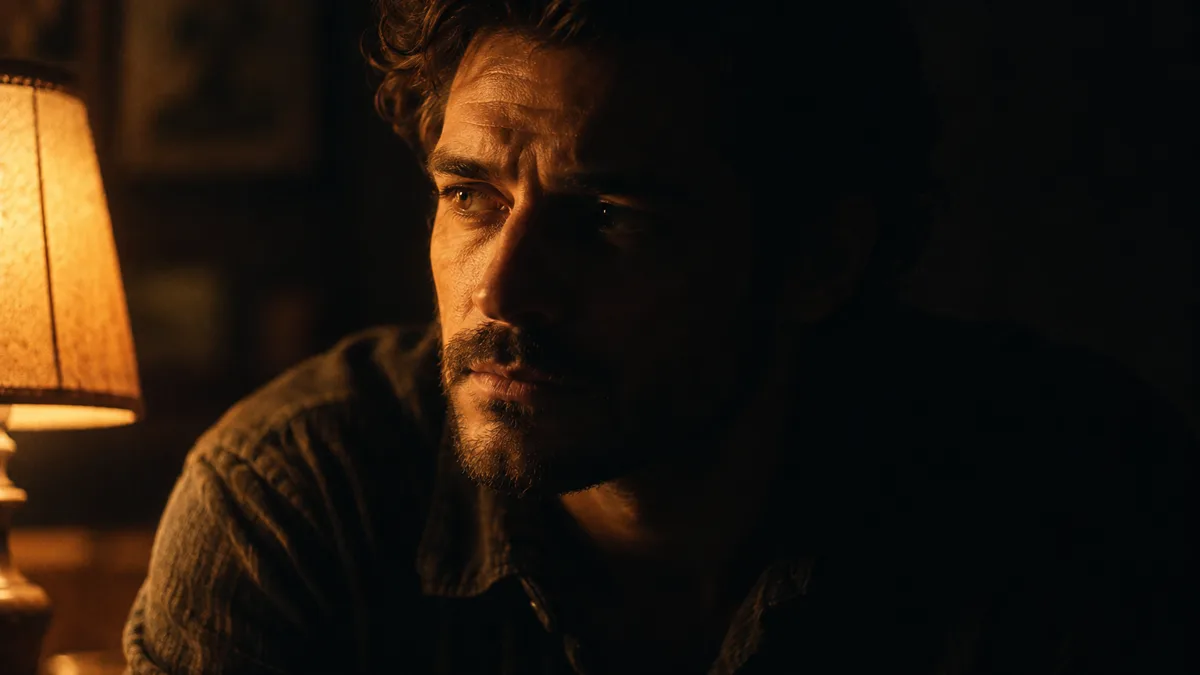
- Single practical - one lamp, candle or screen visible in the frame doing all the work, everything else falling into shadow.
- Hard key with long shadows - a low sun or bare bulb raking across the scene until the shadow becomes a second subject.
- Soft key with gentle fill - a sheered window, overcast light or a softbox: low contrast, faces that keep their detail.
- Rim and silhouette - the source behind the figure, the face in shade, a bright edge drawing the outline.
- Low-key - the frame is mostly shadow and one pool of light; the audience leans in because most of the image is withheld.
- High-key - bright and open with almost no shadow; here the film look comes from colour and lens, not darkness.
- Two-tone split - a warm source and a cool source meeting on the subject; the whole neon and teal-orange vocabulary in one line.
- Moonlight ambience - one cold soft source behaving like a huge window, no lamp in frame; the night exterior at distance.
- Firelight - a warm flicker from below with short reach: faces lit low, everything above them falling away.
- Screen light - the glow of a monitor or television on a face in a dark room: a cool source close to the subject.
How to write the light line
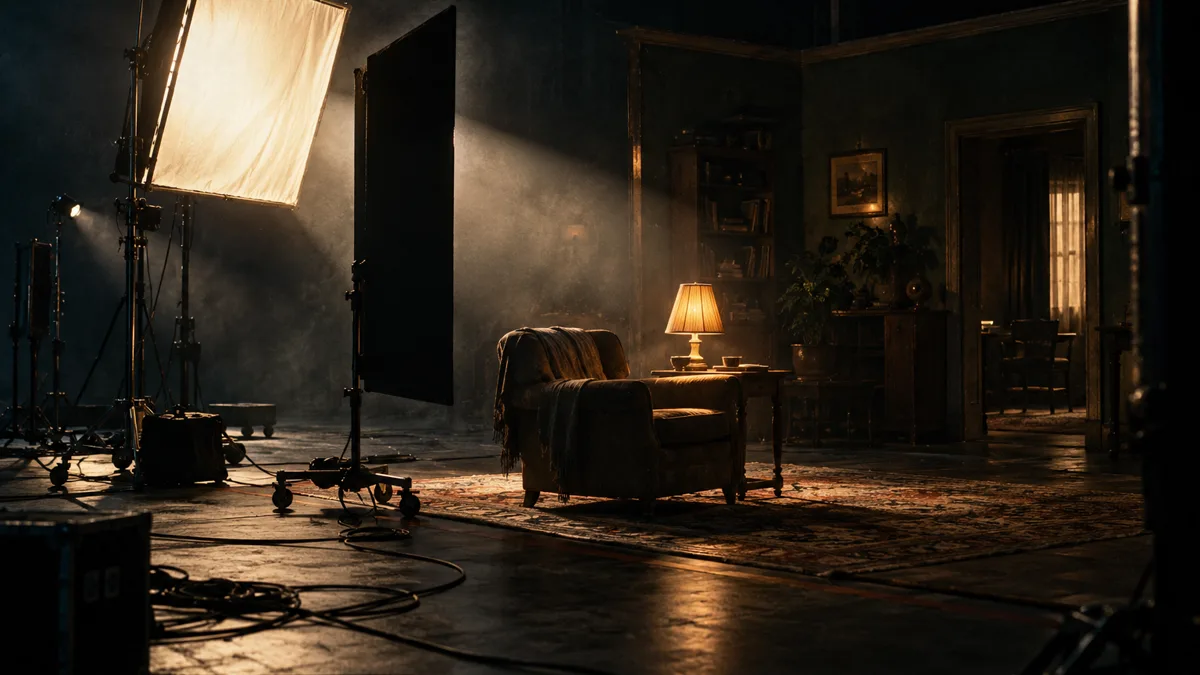
The cheat sheet, reduced: motivate the source, then direction, then quality, then ratio, then colour - one decision per line, in that order. A light line that survives a re-render is the one that names light instead of mood.
The difference in practice:
- Weak: “cinematic lighting, dramatic, moody” - three mood words and no source; the model returns glow instead of light.
- Working: “single practical lamp, warm tungsten, from frame left, deep falloff behind - the rest of the room in shadow.”
- The light line is the second line of the five-line brief - the full order is walked through in cinematic AI image prompts. Keep the colour half honest with palette lock so a grade survives the next render, and add texture where light meets shadow with film grain.
Where each setup lives
Lighting is chosen with the location, not after it. The locations library pairs fifteen scenes with shot briefs; these are the natural light pairings behind them:
- Motel room at dusk - single practical, warm, from inside the frame; the sky does a little fill and nothing else.
- Neon street at night - two-tone split; wet asphalt is the second light source.
- Desert or western dusk - hard key low and behind; long shadows carry the composition.
- Interior two-hander - soft window key broken by one practical; the props on the table are light decisions.
- Portrait - rim or single practical; remove every source that is not doing a job.
- Dawn rooftop - moonlight ambience with one warmer practical as the accent.
- The same room becomes six different scenes depending on which line you pick - the briefs in the movie scene playbook all carry their light line for that reason.
The mistakes that read as AI
Flatness is the tell. Most lighting that reads as generated fails the same short list:
- Even illumination across the whole frame - every surface at the same brightness, no direction, no shadow.
- Glow with no source - light that appears on the subject from nowhere, which no lens could produce.
- Three sources with equal billing - the eye cannot find the key, so nothing reads as deliberate.
- Soft light everywhere - no edges for the eye to catch, and texture dies with them.
- Colour everywhere at once - five hues fighting to be the palette; two, and the image commits.
- A clean gradient where shadow should fall - shadow with no texture in it; grain is what a real shadow has.
- Light that stops at the subject - background lit at the same exposure, the classic cutout look.
Frequently asked
What is cinematic lighting, in one sentence?
Light that could have been on a real set: a believable source, one dominant direction, a controlled ratio and a deliberate colour - arranged so the frame reads as photographed rather than generated.
What are the main types of cinematic lighting?
The ten that cover most briefs: single practical, hard key with long shadows, soft key with gentle fill, rim and silhouette, low-key, high-key, two-tone split, moonlight ambience, firelight and screen light. The list above writes each one prompt-ready.
How do I get cinematic lighting in an AI image?
Name the light, not the mood. “Cinematic lighting” alone returns glow; “single practical lamp, warm, from frame left, deep falloff” returns a lit scene. Test at 2K first - one credit on this console - before committing a sequence.
Do I need to reference a film for the lighting?
A reference still helps as a study target, not as a prompt shortcut. Pick ten frames you love, write each one’s light line in words, then render your scene with the lines that survived. The habit is the skill.
Does lighting come before or after the palette?
Light first, palette second - a palette is what the light does to colour. Pin the palette after the light line is settled, and both survive re-renders.
Your first cinematic frame is one prompt away
Sign in with Google, pick a plan and keep every still at the resolution the model produced. Plans from $12/month, cancel at any time. No watermark, no re-encode.