
Golden hour portrait AI
A directional golden hour workflow for AI portraits: choose the sun position, protect skin, control flare and keep one afternoon consistent across a series.
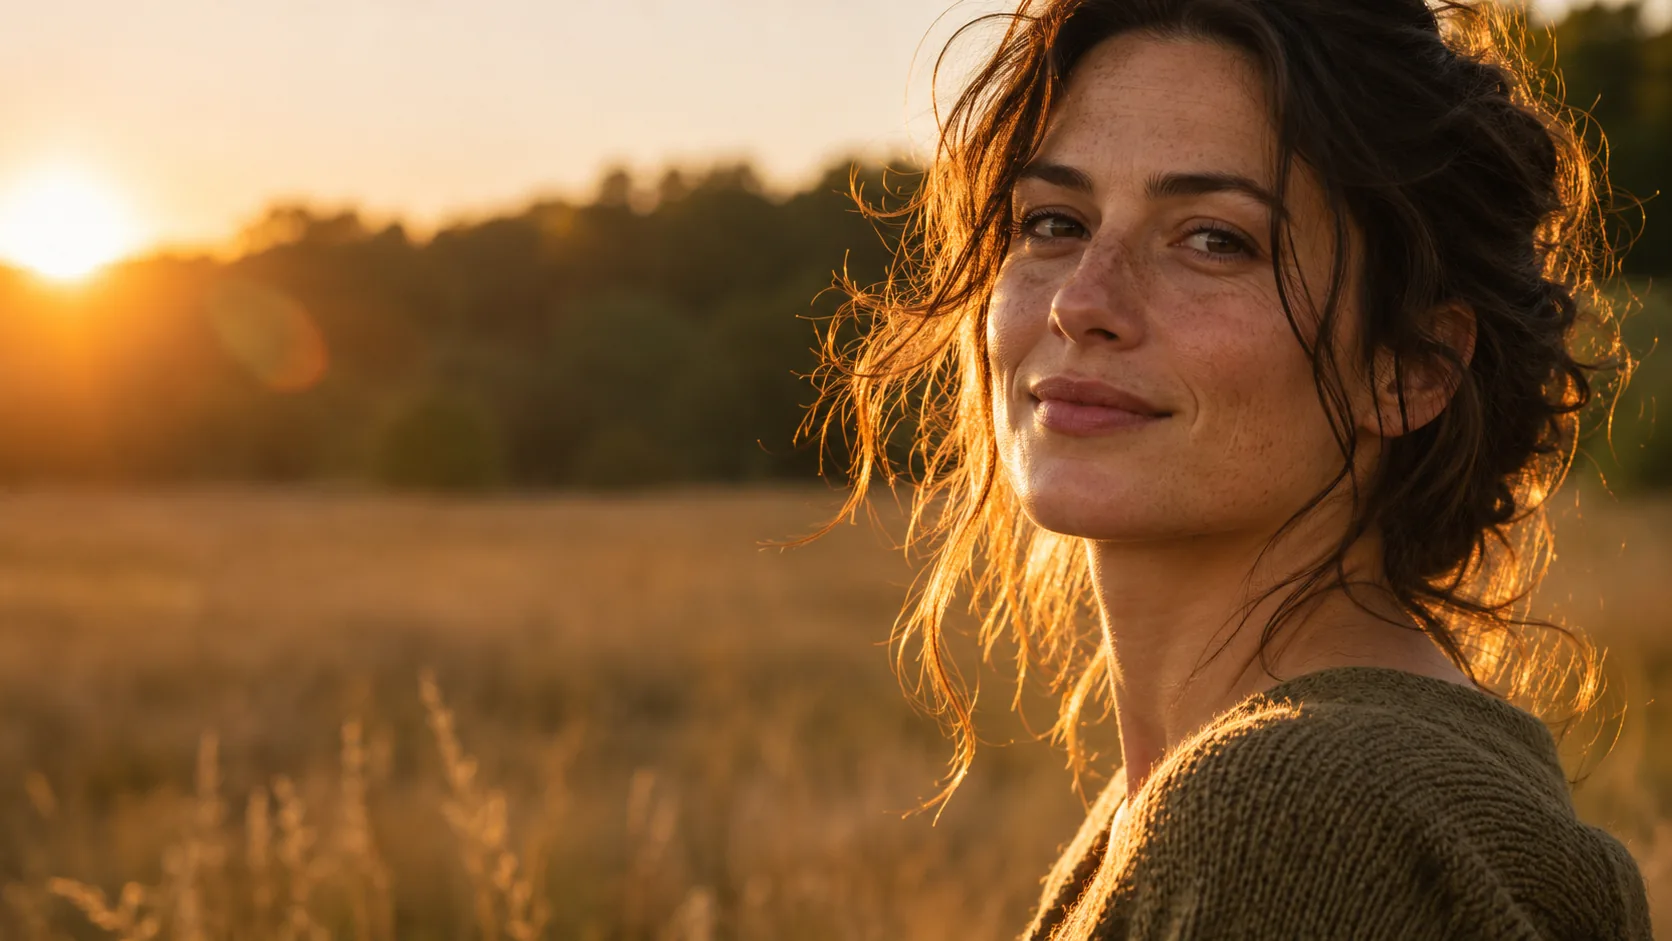
What makes a golden hour portrait cinematic?
A golden hour portrait is made in the twenty to forty minutes when the sun sits close to the horizon. The light is low, warm and directional, shadows run long across the ground, and skin picks up the color of the sun instead of the color of a grade. The background usually holds the same warmth as the face, which is why the frame feels unified.
The look is not a warm filter. The same subject at noon with an orange grade looks tinted, not golden. Sun direction does most of the work, the time window sets the color temperature, and the shadow length tells the viewer that the sun is low.
Treat the light as a physical setup rather than a mood word. The cinematic lighting cheat sheet covers the source hierarchy; this page covers the specific problem of a low sun on a face. The cinematic portrait workflow covers framing and skin once the light is right.
Which sun direction should you choose?
There are four useful positions: backlight, back-quarter, side light and front light. Each one produces a different portrait, and each one needs a different fill decision. Pick the direction before you write anything else, because the face, the background and the flare all follow from it.
Backlight gives the most cinematic separation but puts the face in shade, so it needs a bounce or a bright wall to stay readable. Side light sculpts the cheek and nose but can split the face too hard. Front light is the safest and the least interesting. Back-quarter is the usual compromise: a rim on one side and enough light on the cheek to keep the expression.
| Sun position | What it does | Best for | Prompt anchor |
|---|---|---|---|
| Backlight | Rim on hair and shoulders, face in shade, flare risk. | Romantic, heroic, silhouette-led portraits. | Low sun directly behind the subject, warm rim light, face lit by bounce from a sunlit wall. |
| Back-quarter | Rim on one side plus soft light on the cheek. | The safest cinematic portrait. | Low back-quarter sun, rim on the jaw, soft warm fill on the face. |
| Side light | Strong cheek and nose shadow, half the face falls dark. | Character, editorial, serious portraits. | Low side light from camera-left, long shadow across the cheek, deep shadow side. |
| Front light | Even warm light, short shadows, some squint. | Beauty, lifestyle, open expressions. | Warm frontal sun, soft shadow under the chin, bright background. |
| Open shade | No direct sun on the face, warm bounce from nearby surfaces. | Controlled skin and clean backgrounds. | Open shade at golden hour, warm bounce from a sunlit wall, no direct flare. |
How do you describe the time window and sun height?
“Golden hour” covers a range that runs from clean gold to deep orange. If you want gold, place the sun five to fifteen degrees above the horizon and ask for long shadows. If you want the last red light of the day, say the sun is almost touching the horizon and the shadows are very long. The two looks are different films.
Name the shadow length as well as the sun height. Long shadows across the ground tell the model that the light is low even when the sun itself is out of frame. A portrait with warm light but short noon shadows reads as a grade, not as late afternoon.
- Sun five to fifteen degrees above the horizon.
- Twenty to forty minutes of usable light.
- Long shadows across the ground or wall.
- Warm highlights, neutral or cool shadows.
- “Sunset” for orange and red, “late afternoon” for gold.
- Overcast golden hour for soft light with no flare.
How do you protect skin tones in warm light?
Expose for the skin, not for the sky. The face should hold detail in the highlights and still show pores, fine lines and natural color. If the prompt asks for “glowing skin” or “beauty retouch”, the model will flatten the texture and the portrait will stop looking photographic.
Use a bounce or a bright wall as fill instead of adding a second sun. A warm bounce keeps the shadow side readable without turning the face into a second light source. Keep the shadow side slightly cooler than the highlight side; that separation is what makes warm light feel dimensional rather than monochrome orange.
| Problem | Usual cause | Fix |
|---|---|---|
| Orange skin | Sun too low or a global warm grade. | Raise the sun, keep shadows neutral, remove “orange grade”. |
| Blown forehead | Direct sun on the face. | Turn to backlight or open shade, add bounce fill. |
| Gray shadow side | No fill and no bounce surface. | Add a sunlit wall or white bounce, keep one shadow side. |
| Plastic skin | “Glowing”, “airbrushed”, “beauty retouch”. | Ask for visible pores, natural texture, no retouching. |
| Flat face | Front light with no shadow. | Move to side light or back-quarter, keep one cheek shadow. |
How do you control lens flare and haze?
Flare is optional. It works when it is motivated by the sun at the edge of the frame and when it does not cross the eyes. “Subtle natural lens flare from the sun at the frame edge” gives the model a source and a limit. “Lens flare” alone usually produces a graphic streak that washes out the face.
Haze follows the same logic. A little atmospheric haze behind the subject separates the planes and makes the light visible. Too much haze turns the background into milk and removes the long shadows that made the hour readable. Keep the foreground crisp and the haze behind the subject.
- Put the sun at the frame edge, not behind the eyes.
- Ask for subtle, natural flare with a named source.
- Keep the face shaded or bounced when shooting into the sun.
- Use haze behind the subject, not in front of the face.
- Keep foreground contrast so the frame does not go flat.
- Test one flare frame and one clean frame per setup.
Which lens should you name?
An 85mm at a wide aperture compresses the background and turns the low sun into soft highlights. A 50mm keeps more of the place in the frame and is the natural choice for a walking portrait. A 35mm includes the sun, the ground and the environment, which makes the long shadows part of the composition.
Name the aperture only when the falloff matters. At f/1.8 the background becomes color and light; at f/4 the place stays readable. For a series, keep the lens fixed and change only the subject and the blocking.
- 35mm: environment, sun in frame, long shadows.
- 50mm: walking portrait, natural perspective.
- 85mm: compressed background, soft sun highlights.
- f/1.8 to f/2: atmosphere over detail.
- f/4: keep the location readable.
- One lens for the whole series.
How do you keep the look across a series?
Fix the sun direction, the time window, the lens and the color logic, then change only expression, blocking and framing. The second frame should contain evidence of the same sun: the same shadow direction, the same highlight side, the same warmth in the background. If the sun moves between frames, the series reads as a folder of portraits rather than one afternoon.
Review the set as a cinematic contact sheet at thumbnail size. Keep the face with Soul ID and the warmth with Palette Lock. The film stock guide explains how to keep the color response fixed without stacking a second warm grade.
Which six golden hour portraits should you brief?
Six briefs cover most of the look: the backlit field, the side-lit street, the back-quarter rooftop, the open-shade wall, the car window and the front-lit beach. Each one gives the sun a different job and the face a different amount of shadow.
| Portrait | Sun | Lens | Prompt anchor |
|---|---|---|---|
| Backlit field | Directly behind the subject, low. | 85mm, f/1.8. | Warm rim on hair, face lit by bounce from dry grass, long shadows. |
| Side-lit street | Ninety degrees from camera-left. | 50mm, f/2. | Hard cheek shadow, warm pavement, background falling into shade. |
| Back-quarter rooftop | Forty-five degrees behind camera-right. | 35mm, f/2.8. | Rim on the jaw, city behind, long rooftop shadow. |
| Open-shade wall | Sun behind the building, warm bounce. | 85mm, f/2. | Soft even skin, warm wall bounce, no flare, clean background. |
| Car window | Low sun through the glass. | 50mm, f/2. | Warm window light on the face, reflections, late afternoon street. |
| Front-lit beach | Behind camera, low over the water. | 35mm, f/4. | Warm frontal light, short shadow, bright sea and sky. |
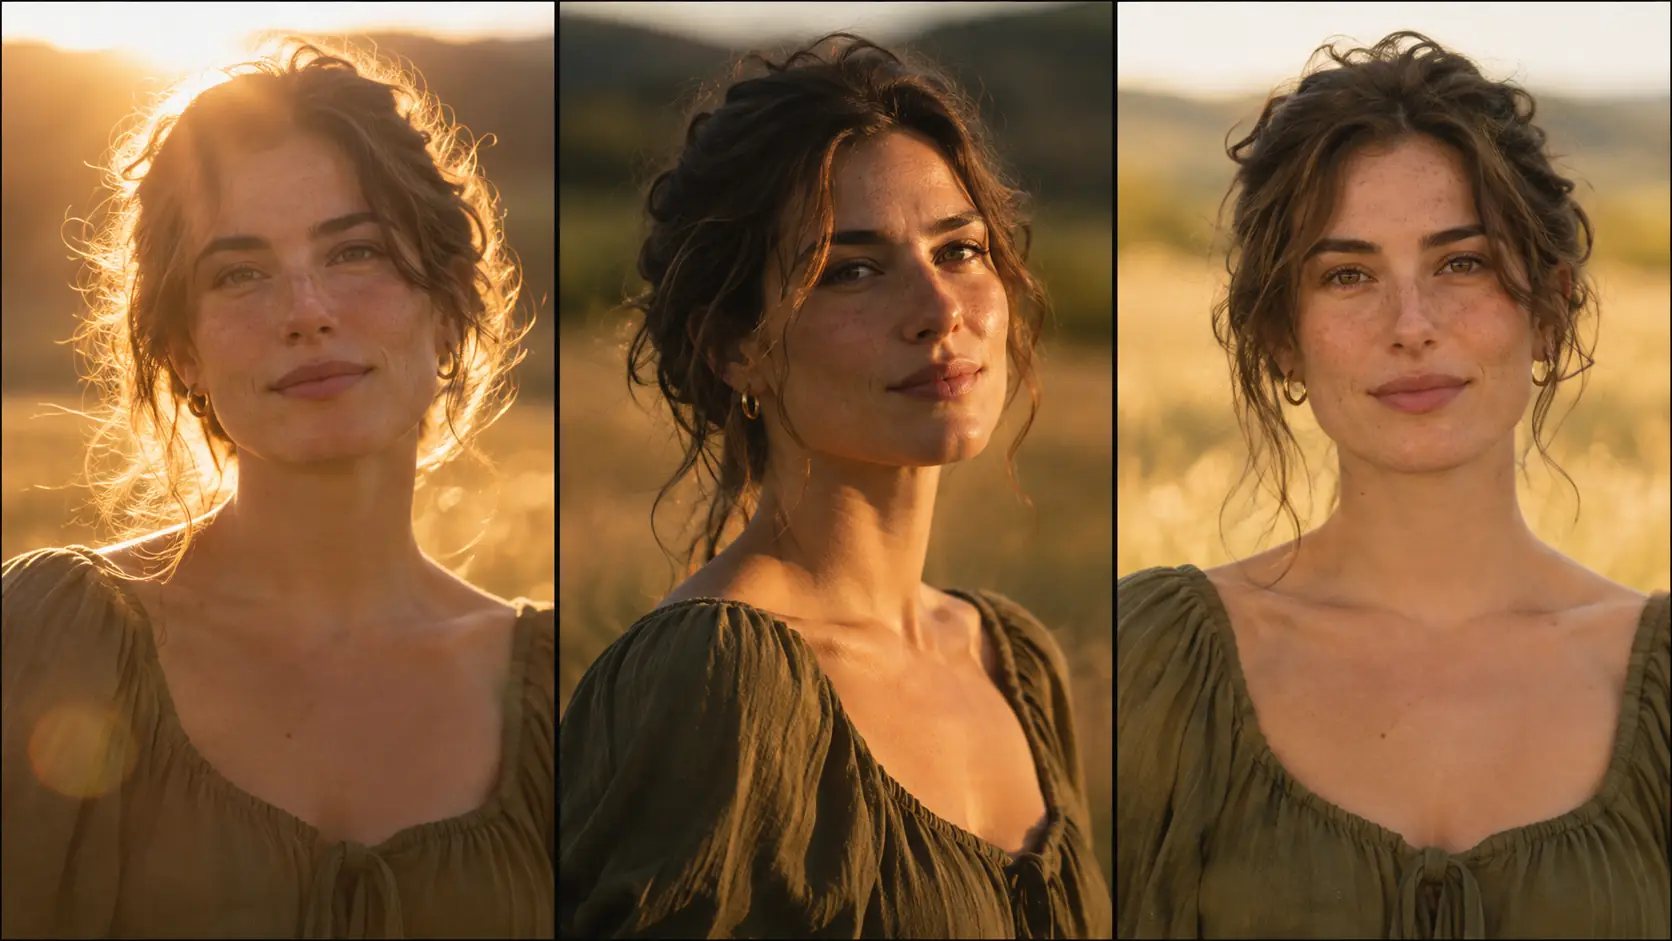
What are common golden hour AI mistakes?
The first mistake is using “golden hour” as the only light instruction. The second is letting the sun sit overhead while asking for long shadows. The third is a global orange grade that leaves the shadows warm and the skin plastic. The fourth is flare across the eyes.
The fifth is a background that is brighter than the face, which pulls the eye away from the portrait. The sixth is a series where the sun changes direction between frames. Golden hour is a narrow window; the discipline is to keep everything except the performance fixed.
- “Golden hour” with no sun direction or height.
- Warm light with short noon shadows.
- Orange shadows and plastic skin.
- Flare across the eyes or a washed-out face.
- A background brighter than the subject.
- Sun direction changing between frames.
Frequently asked
What is the best time for a golden hour portrait?
The twenty to forty minutes around sunrise or sunset, when the sun is five to fifteen degrees above the horizon. The light stays gold for longer near sunrise and turns orange faster near sunset.
How do I write a golden hour portrait prompt?
Name the sun direction and height, the shadow length, the skin treatment and the lens. For example: “low back-quarter sun, warm rim on the jaw, soft bounce fill, long shadows, 85mm at f/1.8, natural skin texture.”
Why does my golden hour image look orange?
The sun is probably too low or a global warm grade is tinting the shadows. Raise the sun a few degrees, keep the shadow side neutral or slightly cool, and remove any “orange grade” instruction.
Is backlight or side light better for portraits?
Backlight gives separation, rim light and a romantic feel, but the face needs bounce fill. Side light sculpts the cheek and nose and suits character portraits. Back-quarter is the safest combination of the two.
How do I stop lens flare from washing out the face?
Put the sun at the frame edge, ask for subtle natural flare from that source, and keep the face shaded or bounced. Test one flare frame and one clean frame per setup.
Can Soul Cinema keep the same golden hour look across a series?
Yes. Fix the sun direction, time window, lens and stock line in the prompt, keep the face with Soul ID and the palette with Palette Lock, then review the set as a contact sheet before rendering more frames.
Your first cinematic frame is one prompt away
Sign in with Google, pick a plan and keep every still at the resolution the model produced. Plans from $12/month, cancel at any time. No watermark, no re-encode.