
Cinematic portrait generator for film-grade stills
Build a portrait from one motivated light, one intentional lens and natural skin texture, then keep the same face across the full portrait set.
What makes an AI portrait look cinematic?
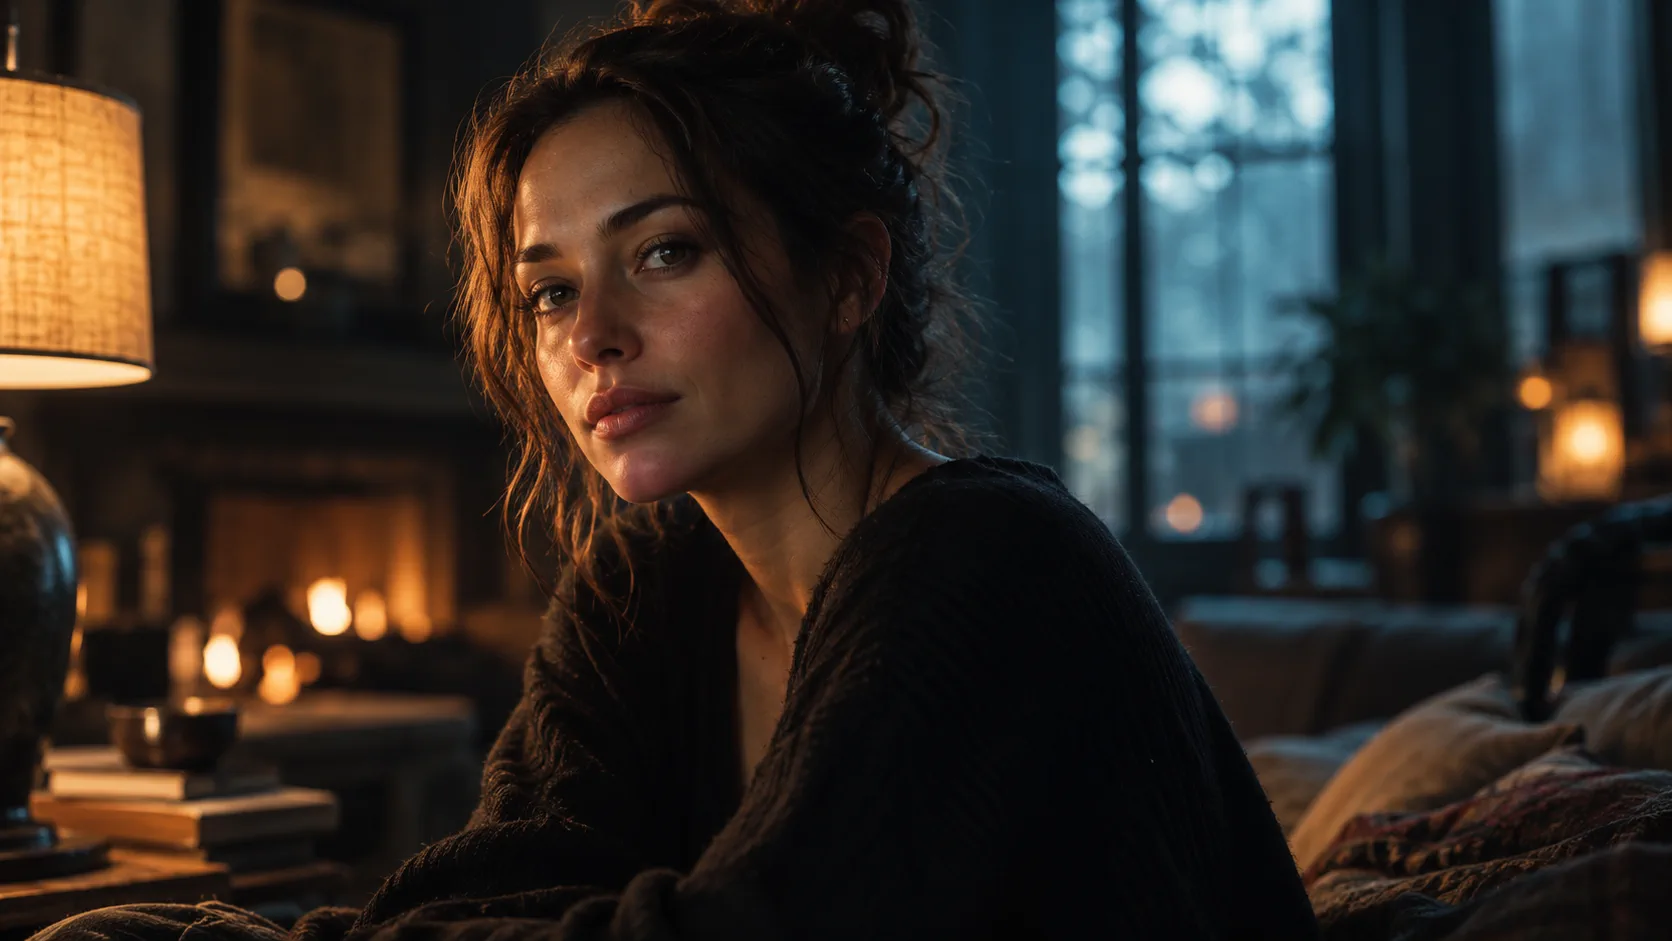
A cinematic AI portrait is built from directed light, a deliberate lens and a face that still looks human under both. The difference is not a darker filter or a wider crop. It is the ability to see where the key light comes from, how the background falls away and what the skin does at the edge of shadow.
The strongest portraits usually make one visual decision obvious: a warm practical against a cool room, a narrow shaft of window light, a hard rim separating the subject from black, or a soft key that leaves one side of the face almost unlit. If the frame contains every lighting idea at once, none of them read.
Which light setup should you choose for a portrait?
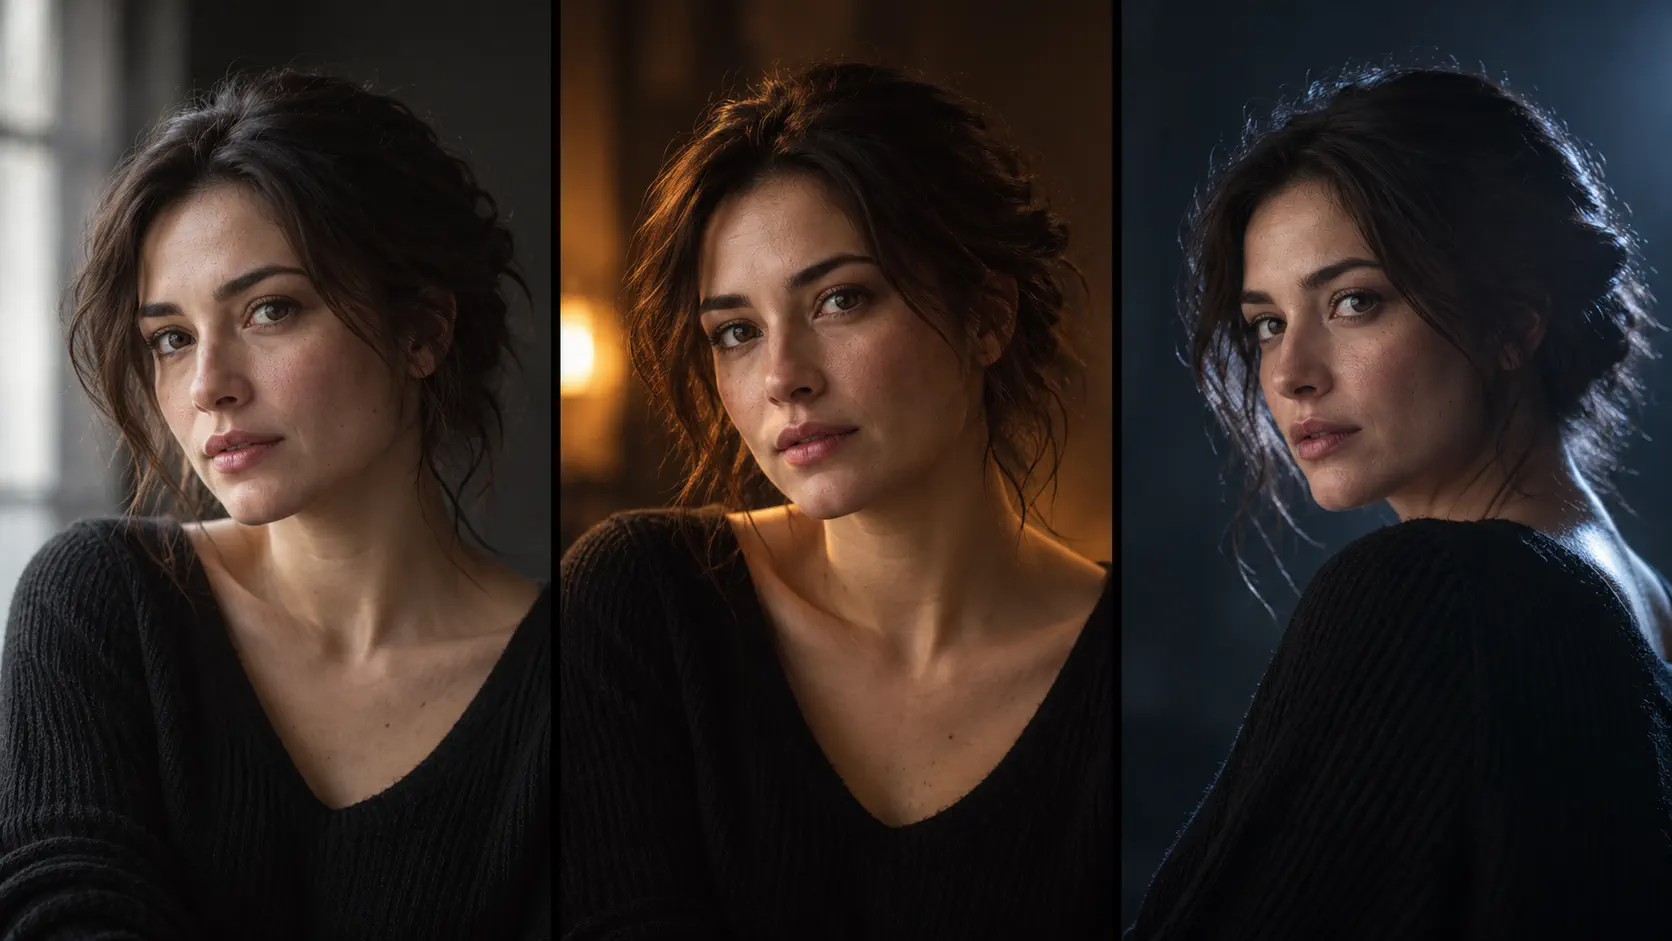
Choose one key and one atmospheric counterpoint. Soft window light gives the most natural skin and is the safest first test. A warm tungsten practical creates intimacy and period texture. A cool rim produces separation for night exteriors and editorial portraits. Keep the setup simple enough that moving the camera does not change the story of the light.
- Soft window key: one large source from 45 degrees, gentle shadow, neutral skin.
- Warm tungsten: a table lamp or practical close to the face, amber highlights, cooler background.
- Cool rim: a narrow source from behind, dark fill and a clean silhouette.
- Hard side key: one small source from the side, deep shadow and strong texture.
- Overcast exterior: broad soft light with a subtle directional bias and restrained colour.
- Neon mixed light: one coloured practical supporting the face, not washing it out.
What should a cinematic portrait prompt include?
Use five decisions: subject, light, lens, palette and texture. Keep the subject factual and the light directional. A lens name is only useful when paired with distance and framing. The palette should describe the relationship between skin, background and one accent rather than list five colours.
For a portrait, the first paragraph should tell the model what to preserve: face, age, hair and skin. The second should create the scene. Separating the two makes it easier to keep one person while changing the light for a sequence.
| Decision | Strong prompt language | Why it works |
|---|---|---|
| Subject | same adult woman, natural skin texture, calm expression, looking just off camera | Keeps identity and emotion specific |
| Light | warm tungsten practical from frame left, cool window fill behind | Gives the face a direction and the room a second colour |
| Lens | 85mm portrait lens, head-and-shoulders framing, shallow depth of field | Controls compression and intimacy |
| Palette | amber, deep teal and charcoal, warm skin against a cool background | Creates a readable colour relationship |
| Texture | fine 35mm grain, subtle halation, no digital sharpening | Adds photographic surface without hiding skin |
How do you keep skin believable?
Ask for natural skin texture directly and avoid words that push the model toward beauty retouching. Pores, fine hair, small asymmetries and slight under-eye texture are not defects; they are evidence that a face is real. A cinematic portrait can be flattering without becoming plastic.
Check the skin under each light setup. Warm light can make a face orange, cool light can turn midtones green and a strong rim can erase the transition between cheek and background. Protect the midtones first, then let the key and background carry the colour.
- Name the skin tone in neutral language.
- Request natural pores and fine facial hair.
- Keep one neutral reference frame for comparison.
- Do not combine “flawless skin” with “editorial realism.”
- Check hands and neck, not only the face.
- Use grain to unify texture, not to hide skin detail.
How do you hold one person across a portrait sequence?
Create a reference portrait first and approve it before testing a set. Use the same identity block in every prompt while changing only the camera, wardrobe detail and light. A sequence can move from window light to tungsten and remain the same character if the face, hair and skin description stay fixed.
The full sequence method is in AI character consistency prompts, with the source images organized in the AI character reference sheet. For reusable identity locks, see Soul ID.
- Approve one front portrait before generating a series.
- Repeat face, hair, age and skin wording exactly.
- Change lighting setup only after the identity holds.
- Use the same lens range for a coherent portrait set.
- Keep wardrobe anchors visible in the frame.
- Judge the sequence at thumbnail size before upscaling.
What are common cinematic portrait mistakes?
The most common mistake is using “cinematic” as a substitute for lighting. Cinematic is a result of decisions: direction, contrast, lens and texture. Another mistake is overfilling the frame with background detail; a portrait becomes stronger when the room supports the face without competing with it.
The final mistake is chasing sharpness. At 8K, an over-sharpened face looks less photographic, not more. Keep the texture soft enough to survive upscaling and judge the face at viewing size, not at 400% on a monitor.
- No stated light direction.
- Too many coloured practicals in one frame.
- A wide lens close to the face without a reason.
- Over-polished skin with no pores or fine hair.
- A background that carries more contrast than the subject.
- Sharpening the portrait before or after an 8K upscale.
How do you test a cinematic portrait before paying for a set?
Render one portrait at 2K in a neutral setup. Approve the face, skin and lens before adding a stronger grade. Then render the same identity under the two light setups you actually need. If the second frame produces a different person, return to the reference instead of pushing the lighting further.
On Soul Cinema, a 2K render costs one credit, 4K costs two and 8K costs four. Test the look and the identity at 2K, then upscale only the portraits that pass. Failed frames are refunded automatically.
Compare the general console on the cinematic AI image generator page, then review Soul Cinema pricing before choosing a production plan.
Frequently asked
What is a cinematic portrait generator?
It is an image-generation workflow designed for film-style portraits: directed light, deliberate lens choices, believable skin and consistent character references. It is not simply a filter that adds contrast and grain.
How do I make an AI portrait look cinematic?
Name one key light and its direction, pair the framing with a lens, keep the palette restrained and ask for natural skin texture. A dark background alone does not make a portrait cinematic.
Which lens is best for cinematic portraits?
An 85mm lens is a reliable portrait choice for compression and background separation. A 50mm works for environmental portraits and a 135mm increases isolation, but the lens should always be paired with distance and framing.
How do I keep the same face in several portraits?
Use one approved reference portrait, repeat an identical identity block and change only light, camera or scene. Compare the resulting frames at thumbnail size before increasing resolution.
Can you generate a cinematic portrait at 8K?
Soul Cinema renders natively up to 4K and provides 8K as an AI upscale from the 4K render. The metadata records both sizes, so you know what the model produced and what was enlarged.
How much does a cinematic portrait cost?
On Soul Cinema, a 2K frame costs one credit, 4K costs two and 8K costs four. Plans start at $12 per month, and failed frames are refunded automatically.
Your first cinematic frame is one prompt away
Sign in with Google, pick a plan and keep every still at the resolution the model produced. Plans from $12/month, cancel at any time. No watermark, no re-encode.