
Storyboard to video
Turn approved storyboard panels into shots without losing the timing, identity and location decisions that made the board work.
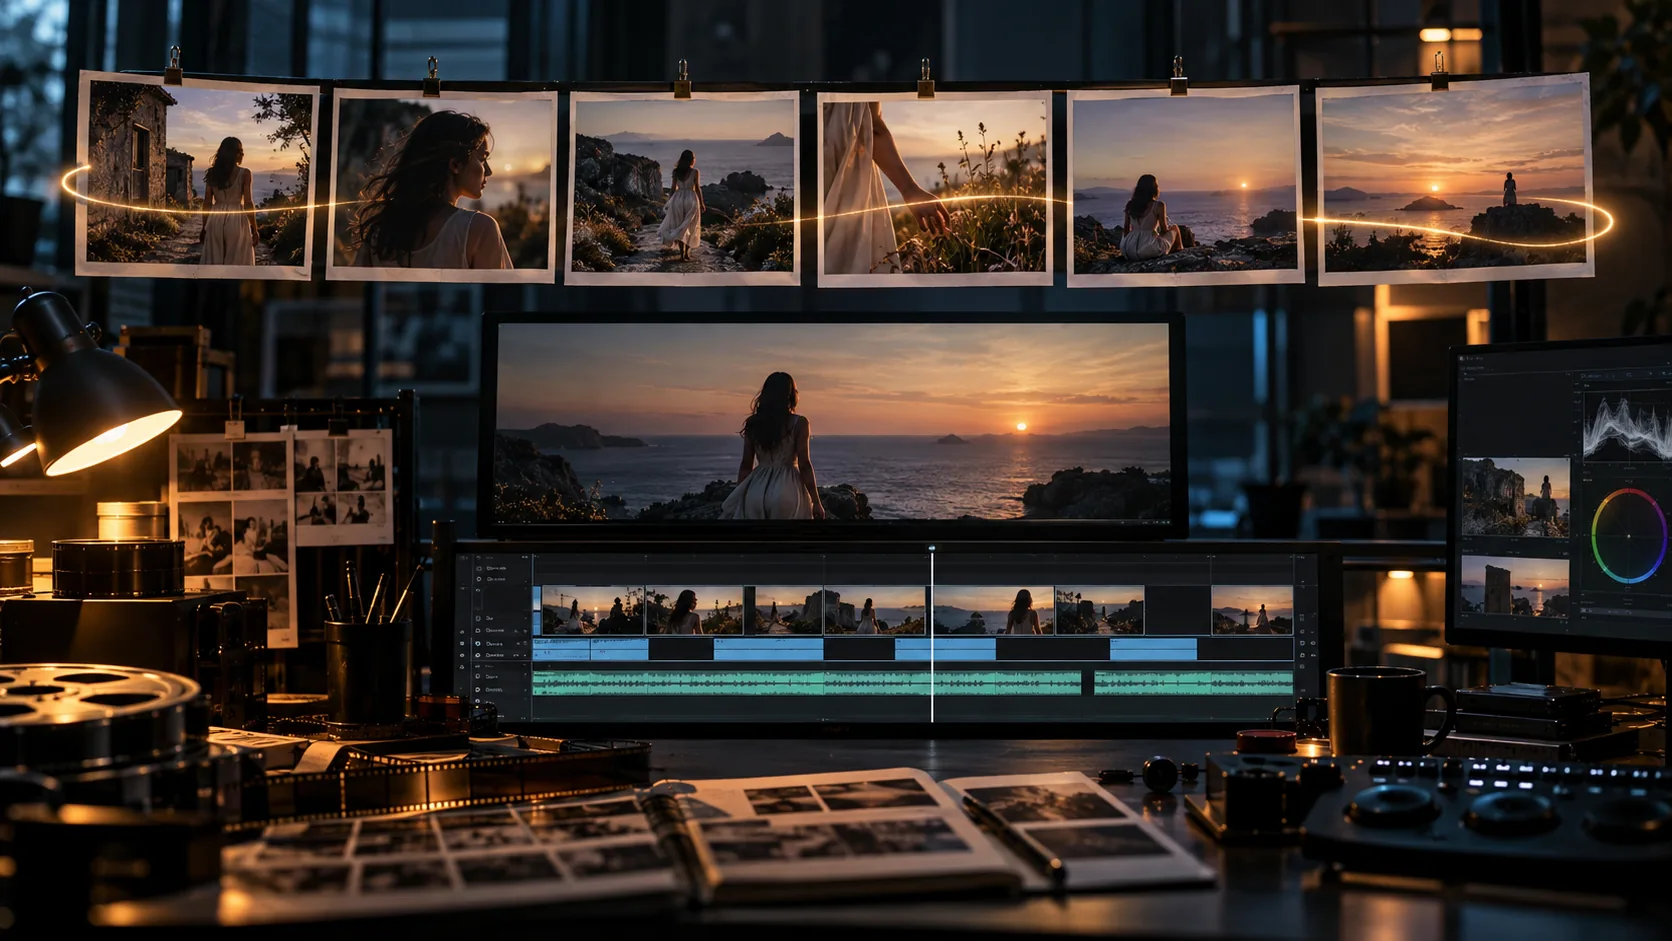
Can AI turn a storyboard into video?
Yes, but not automatically. An image-to-video model can animate an approved storyboard panel into a short clip, but it cannot infer the shot design, timing or continuity that the board is supposed to contain. The board supplies the decisions; the video model supplies the motion.
That handoff is the part most storyboard guides leave out. The Runway AI storyboard guide treats the move from board to animatic as an FAQ step rather than a full workflow. This page makes that step explicit: one panel becomes one clip, with a shot number, a duration, a camera instruction and a continuity record.
Soul Cinema renders the panels as cinematic stills. It does not render video. The animation step happens in a separate image-to-video model, using the approved panel as a start frame or a reference.
What is the difference between a storyboard, an animatic and a video clip?
A storyboard is a sequence of drawings or stills that describes the shots. An animatic is that board edited to a timeline with temporary audio, so you can judge pacing before spending on motion. A video clip is the generated or photographed motion for one shot.
The three artifacts answer different questions. The storyboard asks “what is the shot?” The animatic asks “does the sequence work in time?” The clip asks “does the motion hold up?” Skipping the animatic is the most common reason a board that reads well becomes a video that feels slow.
| Artifact | What it contains | What you judge |
|---|---|---|
| Storyboard | Panels, shot numbers, camera notes, action and continuity anchors. | Whether the coverage tells the story. |
| Animatic | The same panels edited to a timeline with temp sound and durations. | Whether the pacing and transitions work. |
| Video clip | Generated or photographed motion for one shot. | Whether the action, camera and identity hold. |
What metadata should every panel carry?
Every panel should carry enough information that another person could generate the shot without asking a question. At minimum: shot number, shot size, camera angle and movement, subject action, estimated duration and the continuity anchors that must survive the transition to video.
The metadata is also the prompt skeleton. If the panel says “medium shot, 50mm, slow push-in, she turns toward the window, four seconds, green coat and rain-soaked platform,” the motion prompt almost writes itself. If the panel only has a picture, the video model has to invent the rest.
| Panel field | Example | Why it matters |
|---|---|---|
| Shot number | SC-02 / SH-04 | Keeps the board, animatic and clips in the same order. |
| Shot size | Medium shot | Sets how much of the subject and set the clip must preserve. |
| Camera | 50mm, chest height, slow push-in | Gives the video model one explicit camera behavior. |
| Action | She turns toward the departing train. | Defines the single motion the clip is built around. |
| Duration | Four seconds | Sets the animatic timing and the clip length. |
| Continuity | Green coat, wet platform, warm exit sign camera left. | Lists what must not drift between panels and clips. |
How do you map a panel to a clip?
Start with one panel, one shot and one clip. A panel that contains a single action maps cleanly to a three-to-five-second clip. A panel that contains a turn, a walk and a sit is really three shots; split it before generating, or the model will average the actions into something vague.
Use the panel’s camera note as the clip’s camera instruction and the panel’s action as the only subject motion. If the model supports start and end frames, generate the end frame from the next panel or from a pose test, then interpolate. If it only accepts a start frame, keep the action small and the camera locked.
- One panel equals one shot; split compound actions first.
- Keep the clip length close to the panel’s estimated duration.
- Use one camera move per clip, or lock the camera off.
- Generate the end frame when the model supports start/end interpolation.
- Keep the same aspect ratio from board to clip.
- Name the continuity anchors in every motion prompt.
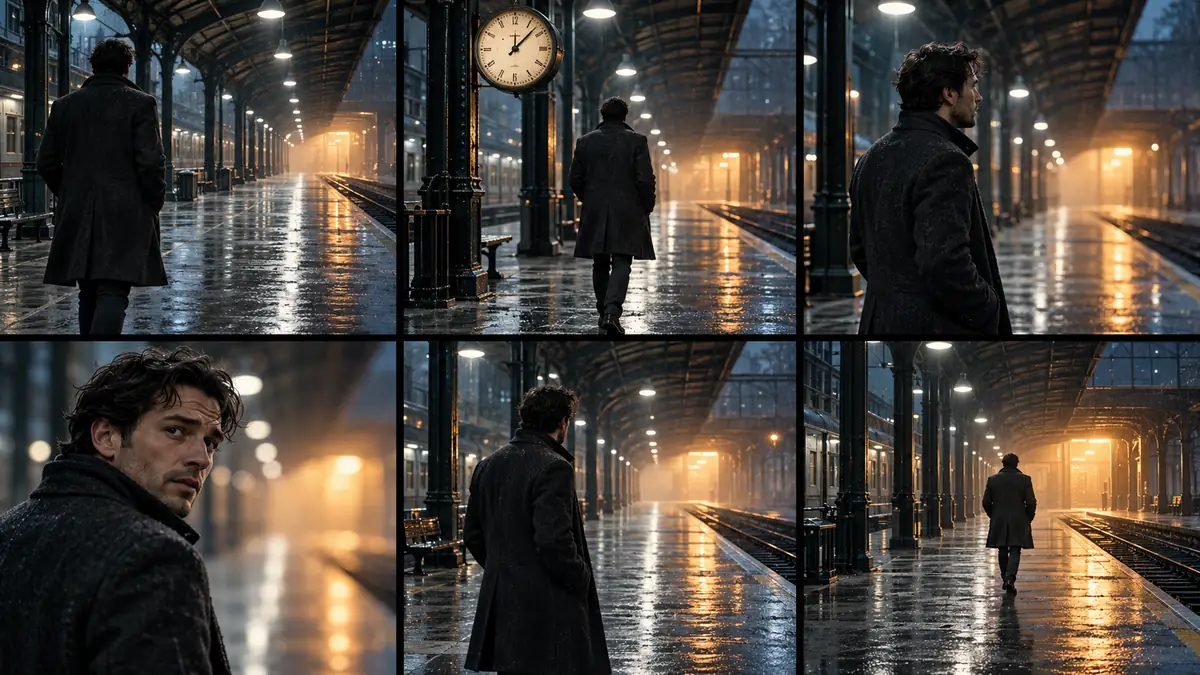
How do you keep character and location continuity from board to clip?
Continuity is decided on the board, not repaired in the video model. Lock the character reference before drawing the panels, keep one wardrobe per sequence and build a location plate that records architecture, fixed props, materials and light direction. Then every panel and every clip inherits the same decisions.
Soul Cinema’s Soul ID holds a character reference across a still sequence, and AI location consistency explains how to keep the set from drifting. The video character-consistency workflow covers the motion-specific checks: wardrobe, profile views and the shots that break first.
- One character reference pack, approved before the first panel.
- One wardrobe per sequence; a second outfit needs its own reference.
- A location plate with architecture, fixed props and light direction.
- The same lens and light logic across the sequence.
- Screen direction recorded on the board so cuts do not flip the set.
- The same continuity anchors repeated in every motion prompt.
Which video model fits which shot?
Choose by the control the shot needs, not by a leaderboard. If the shot depends on a specific person, use a model with reference-to-video or character-reference support. If the shot depends on composition, use a start-frame model and keep the camera simple. If the shot depends on a precise transition, use a model with start-and-end-frame interpolation.
The model categories matter more than brand names because they change faster than the workflow. A reference-to-video model needs a clean reference pack; a start-frame model needs a strong first frame; a start/end model needs both frames to share identity, wardrobe and light. Match the control to the shot and test one clip before committing to the scene.
- Reference-to-video: best for recurring characters across shots.
- Start-frame: best for composition-led shots with a simple action.
- Start and end frame: best for controlled transitions and match cuts.
- Text-to-video: only when no approved frame exists; it gives up the board.
- Test one clip per model before choosing the model for the scene.
How do you build a timed animatic first?
Assemble the approved panels on a timeline at the durations written on the board, add temporary dialogue, music or sound effects, and watch the sequence without generating any clips. The animatic exposes slow openings, repeated coverage, missing reactions and transitions that only worked as stills.
Change the board while it is still cheap. Reordering panels or trimming a shot in the animatic costs nothing; regenerating a clip costs credits and time. Only promote a shot to motion after its timing and place in the sequence are settled.
- Place every panel on the timeline in shot order.
- Set each panel’s duration from the board.
- Add temporary audio: dialogue, music, effects or silence.
- Watch the sequence once without pausing.
- Mark shots that feel slow, repeated or unclear.
- Revise the board, then approve the animatic before generating clips.
What is the six-step storyboard-to-video workflow?
The workflow is deliberately sequential. Each step removes a decision the video model would otherwise have to invent.
- Lock the board: shot order, shot sizes, camera notes and continuity anchors.
- Build the animatic and approve the timing with temporary audio.
- Generate or approve start and end frames for each shot.
- Write one motion prompt per panel using the four-part structure.
- Generate one test clip per scene and check identity, action and camera.
- Generate the remaining clips, then assemble and review the sequence.
How do you QA the first scene before scaling?
Do not generate the full sequence from an unproven scene. Pick the scene with the most continuity risk — usually the one with a turn, a close-up and a location change — and run the complete handoff on it. If the first scene holds, the rest of the board is likely to hold too.
Check the clip at thumbnail, deck and full size. At thumbnail, the action should read without sound. At deck size, the camera move and cut should make sense. At full size, the face, hands, wardrobe edges and background architecture should survive the motion.
- The panel’s action is the only action in the clip.
- The character’s identity holds from the first to the last frame.
- Wardrobe, hair and props do not change.
- The location’s architecture and light direction stay fixed.
- The camera move matches the panel note.
- The clip cuts cleanly against the next panel in the animatic.
Frequently asked
Can AI turn a storyboard into video?
Yes, one panel at a time. An image-to-video model can animate an approved panel, but the board still has to define the shot, timing and continuity. AI does not infer a coherent sequence from a folder of images.
How many storyboard panels do I need for a 30-second video?
There is no fixed number. Start with one panel per shot and one shot per action, then use the animatic to find shots that are too short or too long. A 30-second sequence often needs more panels than a beginner expects because reactions and transitions are shots too.
What is the difference between a storyboard and an animatic?
A storyboard is the visual plan. An animatic is that plan edited to a timeline with temporary audio and durations. The animatic tests pacing before you spend on motion generation.
How do I keep characters consistent from board to video?
Lock one character reference before drawing the panels, keep one wardrobe per sequence and repeat the same identity anchors in every motion prompt. Use the crop that matches the shot, especially for profile and rear views.
Which video model should I use?
Choose by control: reference-to-video for recurring characters, start-frame for composition-led shots and start/end-frame for precise transitions. Test one clip per model on the scene with the most continuity risk before committing.
Does Soul Cinema generate video?
No. Soul Cinema renders cinematic stills and storyboard panels. The video step happens in a separate image-to-video model; the approved panel becomes the start frame or reference.
Your first cinematic frame is one prompt away
Sign in with Google, pick a plan and keep every still at the resolution the model produced. Plans from $12/month, cancel at any time. No watermark, no re-encode.