
Script to storyboard with AI
Turn a scene into coverage you can actually render: identify the visual beats, build a shot list, write one prompt per panel and test the sequence before expanding it.
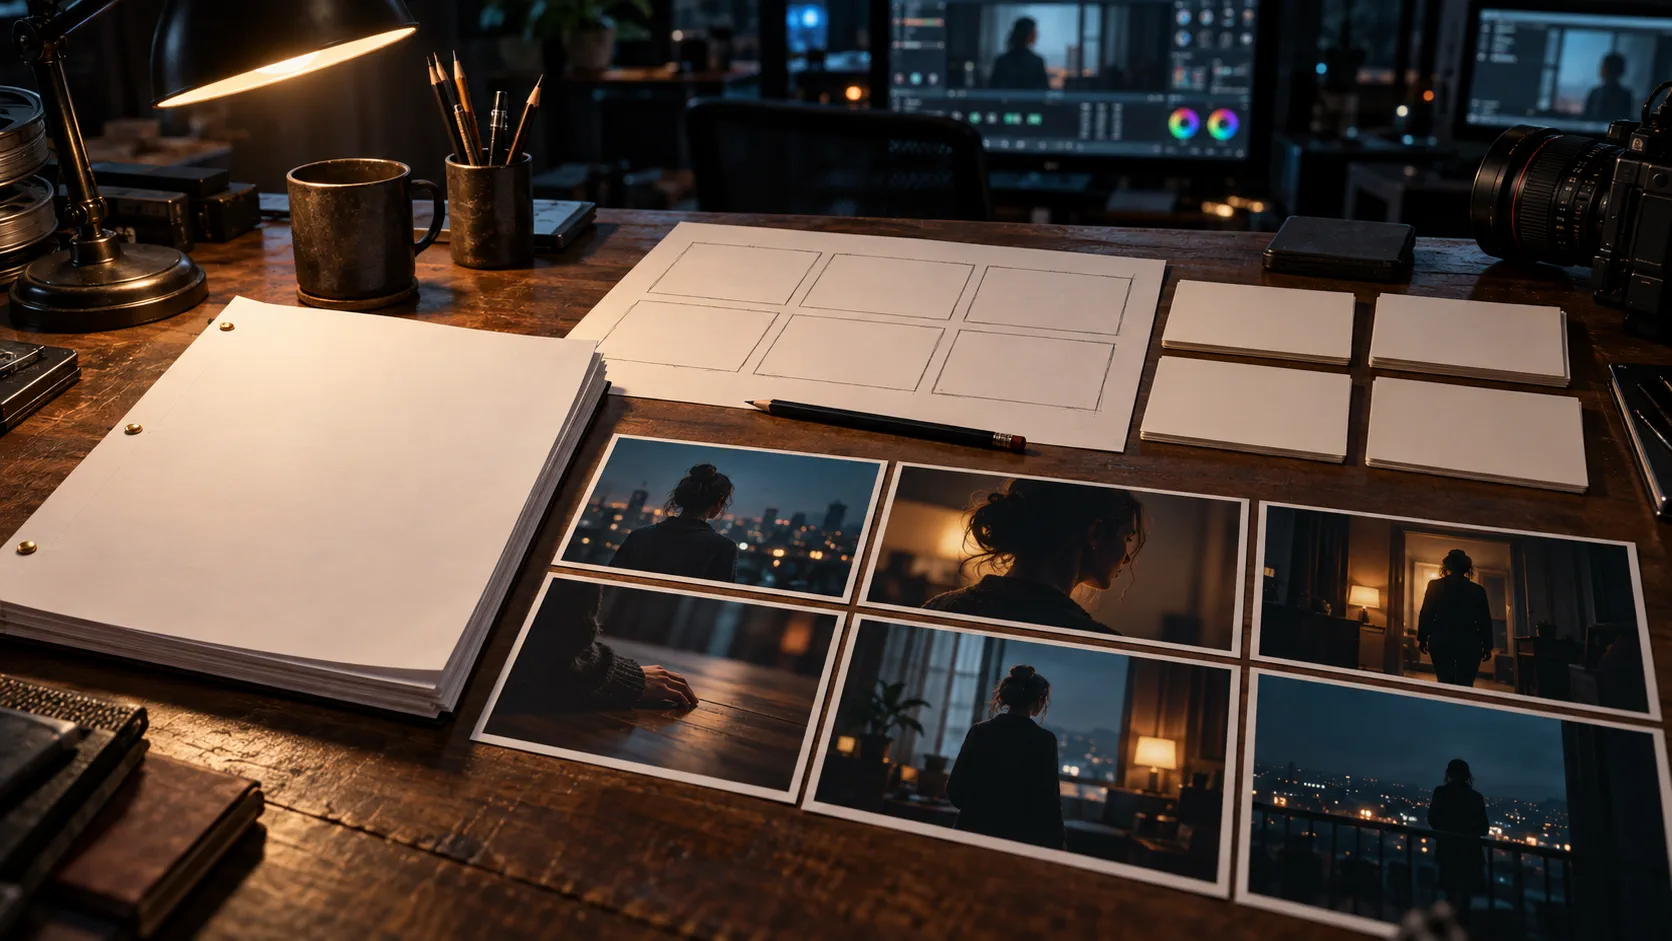
Can AI turn a script into a storyboard?
Yes, once the script is broken into visual beats and shot descriptions. Script to storyboard AI works best as a controlled translation: read the scene, identify the dramatic turn, build a shot list, write one image prompt per panel, and review continuity before generating the next frame.
This is not a one-click screenplay-to-video pipeline. Soul Cinema does not parse a full screenplay or invent your coverage for you. It renders the frames after you decide what each panel must show. That division is useful because framing, eyelines and continuity are directing decisions, not decoration added after the image exists.
The existing AI storyboard generator guide explains the format itself. This page begins one step earlier and turns a scene from the script into a board you can actually render.
What should you read for before choosing a shot?
Read the scene for its change, not its furniture. A scene usually begins in one emotional or physical state and ends in another; the storyboard exists to make that change visible. Identify who wants what, where the power shifts, when the other character enters, and which object or gesture carries the turn.
Then mark the scene heading, time of day, character entrances and exits, essential props and any line that changes blocking. Those notes become continuity constraints. If a glass is full in the first panel and gone in the second without an action, the board has created an editing problem before anyone has generated an image.
- The dramatic change: what is different by the final panel?
- The subject of each beat: one person, action or object per shot.
- The spatial map: where the door, window and key furniture sit.
- The visual evidence: the prop, expression or light change that carries the beat.
- The required references: character wardrobe, location anchors and time of day.
How do you turn a script into a shot list?
Give every scripted beat one row in the shot list. Write the row so another person could render it without rereading the scene. Use an establishing shot only when the audience needs orientation; do not spend a panel on scenery when the emotion is in a close-up.
| Field | Write this | Example |
|---|---|---|
| Shot | A short label for coverage | 03 · Window reveal |
| Story beat | What changes in the audience’s understanding | She recognises the room is occupied. |
| Framing | Shot size, camera height and lens | Medium close-up, eye level, 65mm, shallow focus. |
| Blocking | Where the body and gaze are directed | Right profile at the window, eyes drifting inside. |
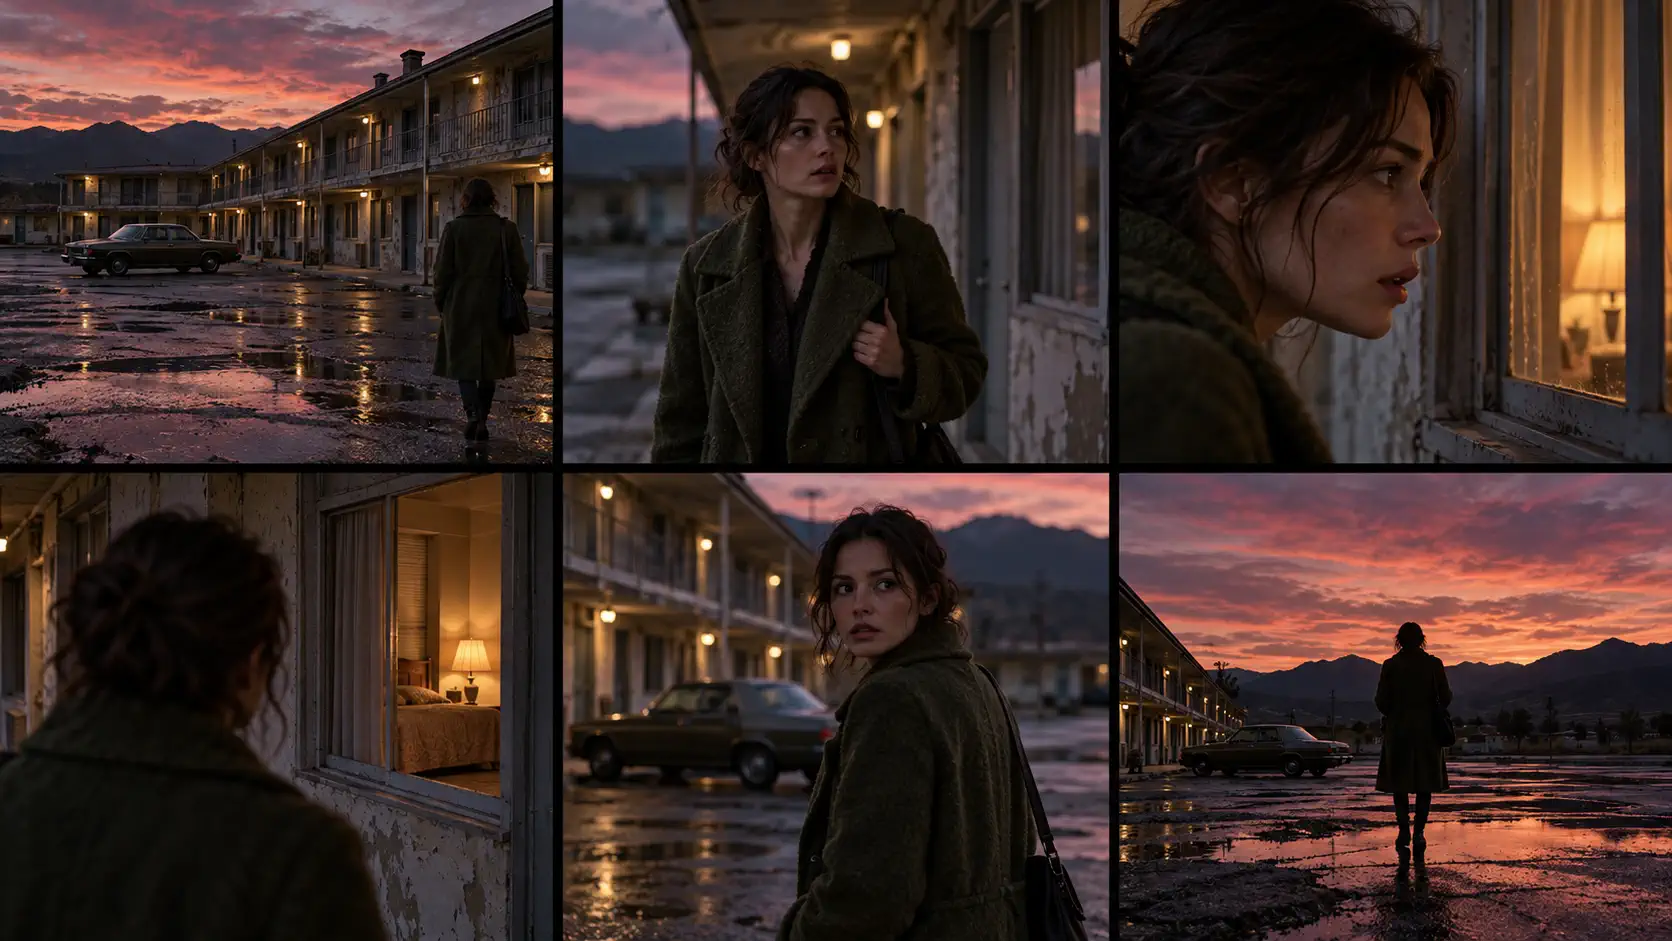
| Continuity | What cannot move between panels | Moss coat, wet hair, warm bedside lamp, same cracked wall. |
What is the six-step script-to-storyboard workflow?
Build six panels first, even if the finished sequence will be longer. A six-frame test exposes the coverage logic quickly: whether the scene can be understood, whether the same character survives each angle, and whether the location feels continuous.
- Summarise the scene in one sentence that names the beginning and end state.
- Mark three to six visual beats, each with one piece of new information.
- Assign one shot to each beat and note shot size, angle and lens.
- Write a five-line image prompt for each row: subject, light, lens, palette and texture.
- Render a 2K test panel and lock the character, wardrobe, location and palette.
- Review the six frames in sequence at thumbnail size before expanding the board.
How do you write an image prompt for each panel?
Write each prompt as a mini shot brief and repeat the continuity lines exactly. Change only the framing and action in the first line. If the character description changes between panels, the model receives permission to cast a different person; if the location description changes, it receives permission to build a different room.
- Subject and action: who is in frame, where they are looking and what they are doing.
- Light: the same key source plus any story-specific change, such as a lamp switching on.
- Lens and frame: one focal length, one height, one aspect ratio and one depth-of-field choice.
- Palette: the same three or four anchors, including wardrobe and location colours.
- Texture: the same grain, contrast and highlight response across the set.
How do you check storyboard continuity?
Review the board in story order, not one image at a time. Read the six panels as if they were already edited together. The sequence passes when the audience can identify the location, follow the eyelines and understand the turn without captions attached to each frame.
Keep the panel prompts next to their frames. The character consistency prompt template provides the fixed identity blocks, while location consistency supplies the room anchors. For a more production-like list, use the shot-list image generator workflow to turn each row into a renderable setup.
- Can the first frame establish place and time without a caption?
- Do eyelines create a believable off-screen relationship?
- Does the same face, body shape and wardrobe survive every shot size?
- Do doors, windows, furniture and fixed props stay in place?
- Does each new panel reveal information rather than repeat the previous one?
- Does the final frame deliver the scene’s change?
What are the common script-to-storyboard mistakes?
The most common mistake is illustrating every line of dialogue. A storyboard needs visual coverage, not a transcript. Another is choosing glamorous angles before the scene has a spatial map; if the viewer never understands where the door or window is, the most striking panel still fails to orient them.
The second major failure is generating each frame in isolation. The prompt may say “same woman” in every panel, but that is not a reference. Use the same accepted still, the same wardrobe description and the same location anchors until the board proves that the character and set are stable.
- One panel for every line of dialogue instead of every visual beat.
- Close-ups with no establishing frame to explain the space.
- Different adjectives describing the face or wardrobe in each prompt.
- Continuity props changing without a visible action.
- Aspect ratios mixed between panels without a post-production reason.
- Approving individual frames at full size without checking them as a sequence.
How do you render the first scene in Soul Cinema?
Test one scene before boarding a whole script. Let the AI storyboard generator define the panel format, follow the Soul Cinema prompt guide for the image brief, and run the six-frame test with Soul ID enabled. When the boards read as one scene, expand the coverage rather than polishing a single frame.
Before the board, the AI film treatment workflow turns the visual brief into a six-frame lookbook. After the render, the cinematic contact sheet reviews the frames as one sequence. For motion, the storyboard to video workflow covers panel metadata, timing, continuity and the first-scene QA pass.
Frequently asked
Can AI convert a whole script into a storyboard automatically?
AI can help break a scene into beats and descriptions, but a useful board still needs directing decisions. Soul Cinema renders the rows you define; it does not read a full screenplay and decide your coverage automatically.
How many shots should one scene have?
Use one shot per visual beat. A short six-panel test often covers an establishing view, entrance, reaction, discovery, reversal and final state, but the scene decides the number. Extra angles should add information, not just variation.
What is the difference between a script and a shot list?
A script describes the story through action and dialogue. A shot list translates each visual beat into camera information: shot size, angle, lens, subject action, location and continuity notes. The storyboard turns those rows into frames.
How do I keep characters and locations consistent across storyboard panels?
Reuse the same character and location lines in every prompt, carry the approved frame forward as a reference, and keep Soul ID and Palette Lock active. Then review the six panels as a sequence to catch face, wardrobe, prop and architecture drift.
Should an AI storyboard look fully finished?
A useful board is clear before it is polished. Finish the frames enough to test light, lens, identity and scene geography. High-resolution rendering is more valuable after the six-panel sequence passes, because it prevents spending credits on coverage that does not cut together.
Your first cinematic frame is one prompt away
Sign in with Google, pick a plan and keep every still at the resolution the model produced. Plans from $12/month, cancel at any time. No watermark, no re-encode.