
Turn an AI shot list into cinematic images
Convert coverage into a sequence of purposeful frames: structure the list, lock the cast and light, test one scene and judge the result as a whole.
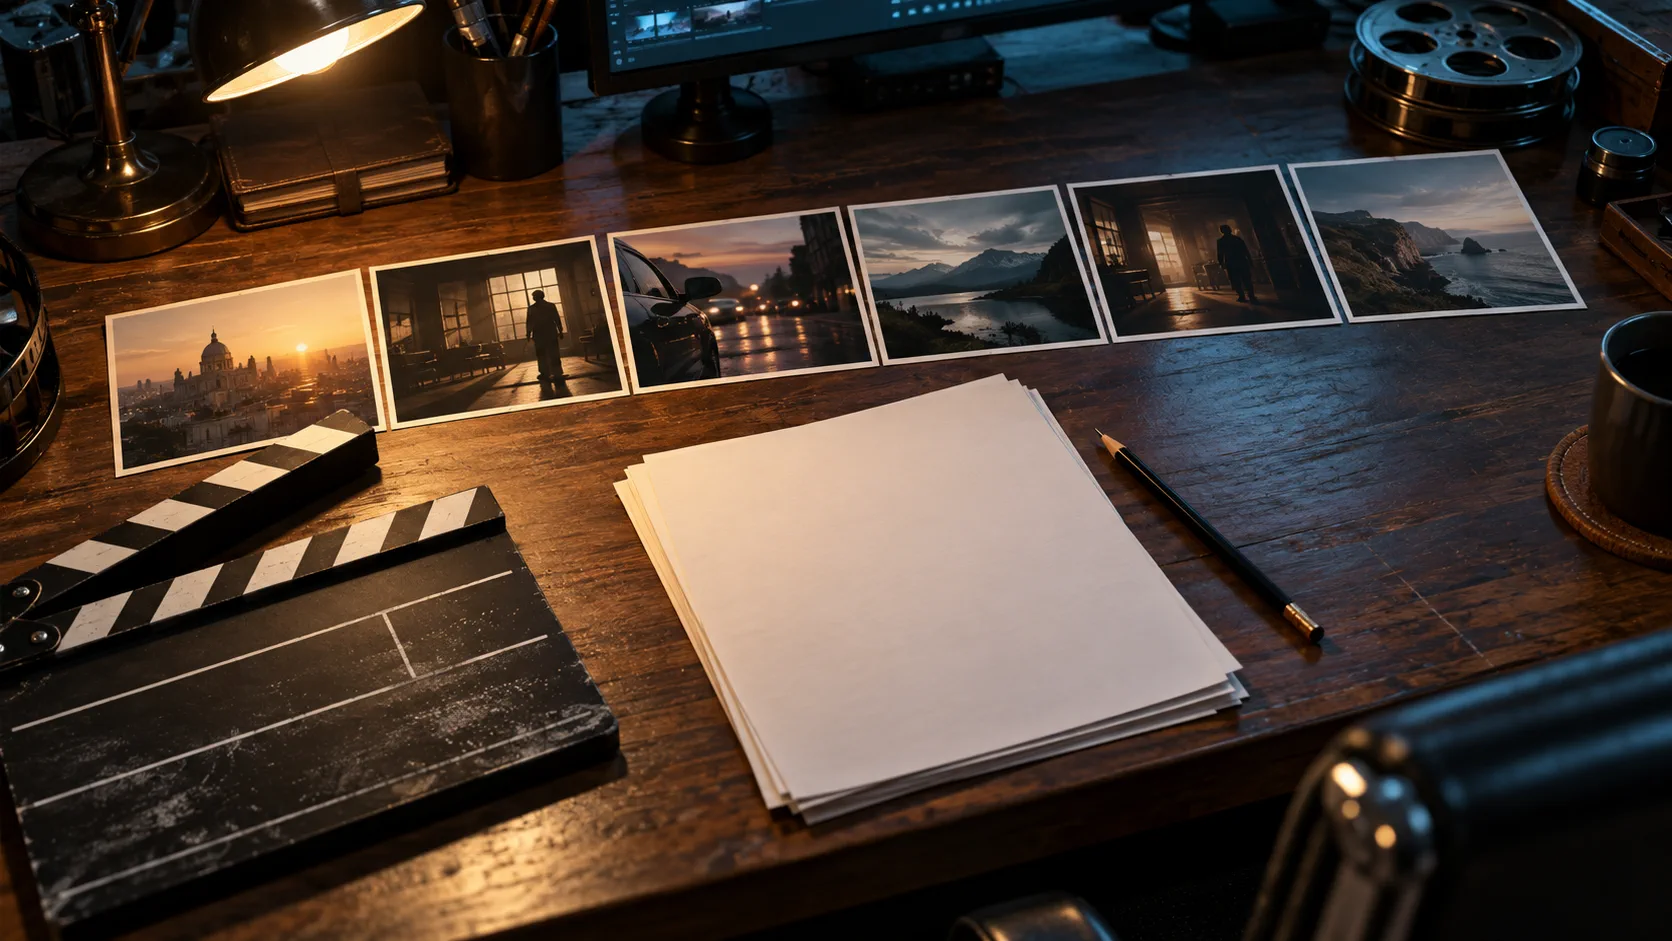
What is a shot-list image generator?
A shot-list image generator turns production coverage into visible frames: a wide for geography, a medium for action, a close-up for the decision and reaction angles for the rhythm between them. It is more specific than a generic storyboard generator because the source is already broken into camera setups.
The purpose is not to create a collage of attractive pictures. It is to show whether the scene reads as coverage. The same actor, wardrobe, location, time of day and light direction should survive a change from wide to close, and every frame should answer a different storytelling question.
How is a shot list different from a storyboard?
A shot list is a production document; a storyboard is a visual explanation. The list names scene, setup, shot size, angle, movement, subject and notes. The board adds composition and sequence. An AI frame set can sit between them: the list supplies the plan, the rendered frames prove the visual language.
This distinction keeps the page useful. You do not need to invent drawings or finish an animatic. You need enough rendered coverage to test whether the scene works before committing to a larger generation run.
| Shot-list field | What to write | What the frame should prove |
|---|---|---|
| Scene / setup | Scene number, location and story beat | The frame belongs to the right moment in the script |
| Shot size | Wide, medium, close or detail | The audience receives the intended information |
| Camera | Height, angle, lens and movement | The viewpoint supports the emotional relationship |
| Subject | Who is in frame, what they do | Blocking and focus are immediately legible |
| Light | Source, direction and colour | The same scene survives the change in angle |
| Continuity | Wardrobe, props and time of day | The sequence still reads as one production |
How do you structure each shot-list line?
Write each setup as a compact brief: who, doing what, where, under what light, from which camera. Keep the identity and wardrobe block separate so it can be repeated exactly. A line that says “Maya enters the platform, wide, cold light, 24mm” is easier to render and easier to judge than “cinematic mystery shot of a woman.”
If the line cannot be visualized, the problem is usually missing blocking. Where is the subject standing? What is in the foreground? Which direction are they facing? The frame needs a spatial fact before it can have a mood.
- Start with the dramatic purpose of the shot.
- Name the subject and action before the camera.
- State one camera height, one angle and one lens.
- Give the light a source and direction.
- Keep continuity notes beside the camera setup, not in a separate document.
How do you turn each setup into a five-line image prompt?
Map subject to line one, light to line two, camera to line three, palette to line four and stock to line five. This order keeps the render stable when you move through coverage. Only the camera and action lines should change between shots in the same scene.
The complete prompt method is in Soul Cinema prompts. Camera vocabulary is broken into 18 blocks on the AI camera angle prompts page, and the script-to-sequence version sits in AI storyboard generator.
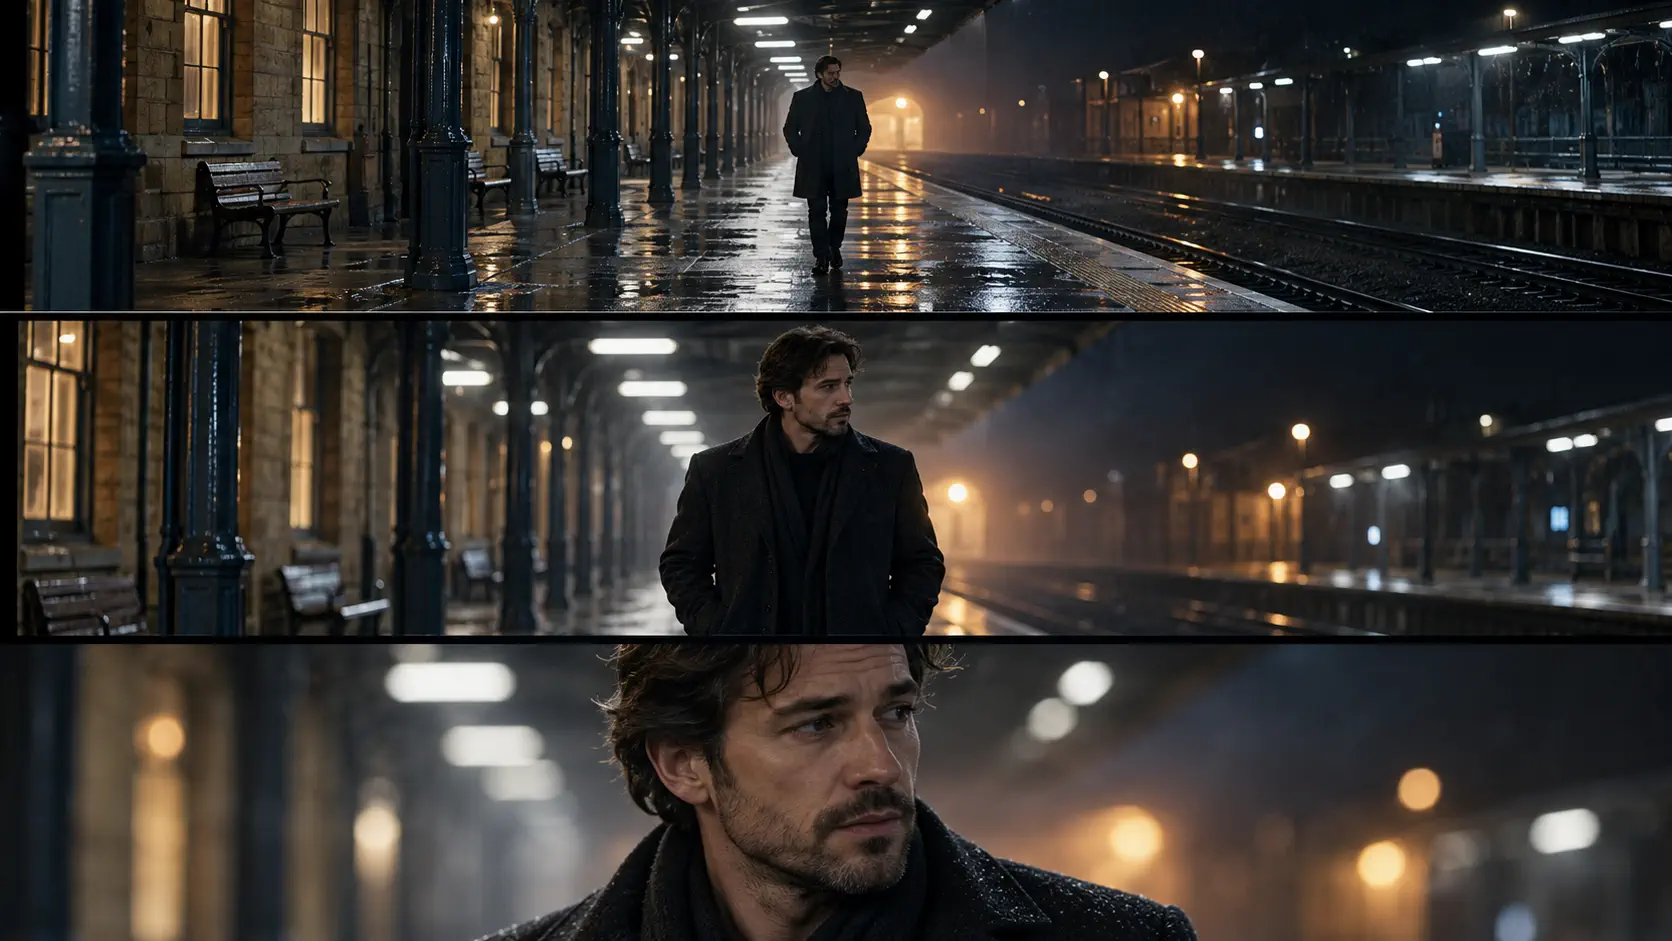
- Subject: same adult man, dark wool coat, walking left to right across the platform.
- Light: cool fluorescent overheads and one warm exit glow at the far end.
- Camera: wide 24mm from platform height, figure in the lower third.
- Palette: steel blue, wet concrete grey and amber.
- Stock: restrained 35mm grain, fine halation around the practical lights.
How do you hold continuity across the coverage?
Lock the cast before moving the camera. Keep one face, one wardrobe and one light direction as fixed blocks. Render the wide first, because it establishes the place and the relationship between foreground and background. The medium and close-up can then reuse the approved environment and identity.
Judge the coverage as a sequence at thumbnail size. The wide should introduce the location, the medium should show the action and the close-up should reveal a change in thought. If all three are essentially the same composition at different crops, the shot list needs another storytelling angle, not more detail.
- Wide: geography, scale and where the subject sits in the room.
- Medium: blocking, gesture and relationship to the space.
- Close-up: decision, recognition or emotional shift.
- Reaction: the consequence of the previous frame.
- Detail: a prop or texture that carries information.
- Returning wide: a changed geography after the emotional beat.
How should you test one scene before rendering the full list?
Render a proof scene at 2K: one wide, one medium and one close-up. Check identity, wardrobe, light direction and geography. If those three frames hold, add the reaction and detail shots. This is cheaper than discovering after ten renders that the first wide invented the wrong room.
Keep a small contact sheet beside the shot list and mark which setup each frame belongs to. The cinematic contact sheet is a human review tool, not something that needs to appear in the final image. Once the scene is approved, promote only the frames that will be used in the sequence.
- Choose one scene with a clear start, turn and consequence.
- Render wide, medium and close-up at 2K.
- Compare the same three facts in every frame: face, wardrobe and light direction.
- Replace one failed setup rather than rerendering the entire scene.
- Upgrade resolution only after the coverage reads correctly.
What does a practical shot-list image set cost?
On Soul Cinema, a 2K frame costs one credit, a 4K frame costs two and an 8K frame costs four. A six-frame proof scene therefore costs six credits at 2K before retries. Failed frames are refunded automatically, which makes a coverage test different from an open-ended image-generation session.
Budget the complete scene rather than the most impressive frame. A tight five-shot sequence that all reads as one production is more useful than one perfect still surrounded by frames that belong to another scene. Render the proof set, choose the keeper and only then increase resolution.
The exact plan and credit arithmetic are on Soul Cinema pricing. If you need to define the characters before coverage, start with the AI character reference sheet.
Frequently asked
What is a shot-list image generator?
It turns a production shot list into rendered frames for each camera setup. The goal is to test coverage and continuity, not to create a single disconnected hero image.
What is the difference between a shot list and a storyboard?
A shot list organizes production information such as setup, camera and continuity. A storyboard visualizes composition and sequence. Rendered shot-list images combine the plan with a visual proof.
How many images should I generate from one shot list?
Start with a three-frame proof: wide, medium and close-up. Add reaction and detail shots only when those three frames read as the same scene and the same cast.
How do I keep the cast consistent across shot sizes?
Use one approved reference set and repeat an identical identity and wardrobe block in every prompt. Change only the camera and action between setups.
Can I turn a script directly into a shot-list image set?
Yes. Break the script into story beats, then assign camera setups that reveal new information. The AI storyboard workflow covers the script-to-sequence step before the shot list is rendered.
What resolution should I use for coverage tests?
Use 2K for the coverage proof. It is enough to judge identity, blocking and light, costs fewer credits and lets you replace a failed setup before rendering the final frames at 4K or 8K.
Your first cinematic frame is one prompt away
Sign in with Google, pick a plan and keep every still at the resolution the model produced. Plans from $12/month, cancel at any time. No watermark, no re-encode.