
Higgsfield Soul Cinema: how to use it
Four steps from an empty console to a locked first frame — write the brief, prove it at test size, then lock what you keep.
What you are actually using
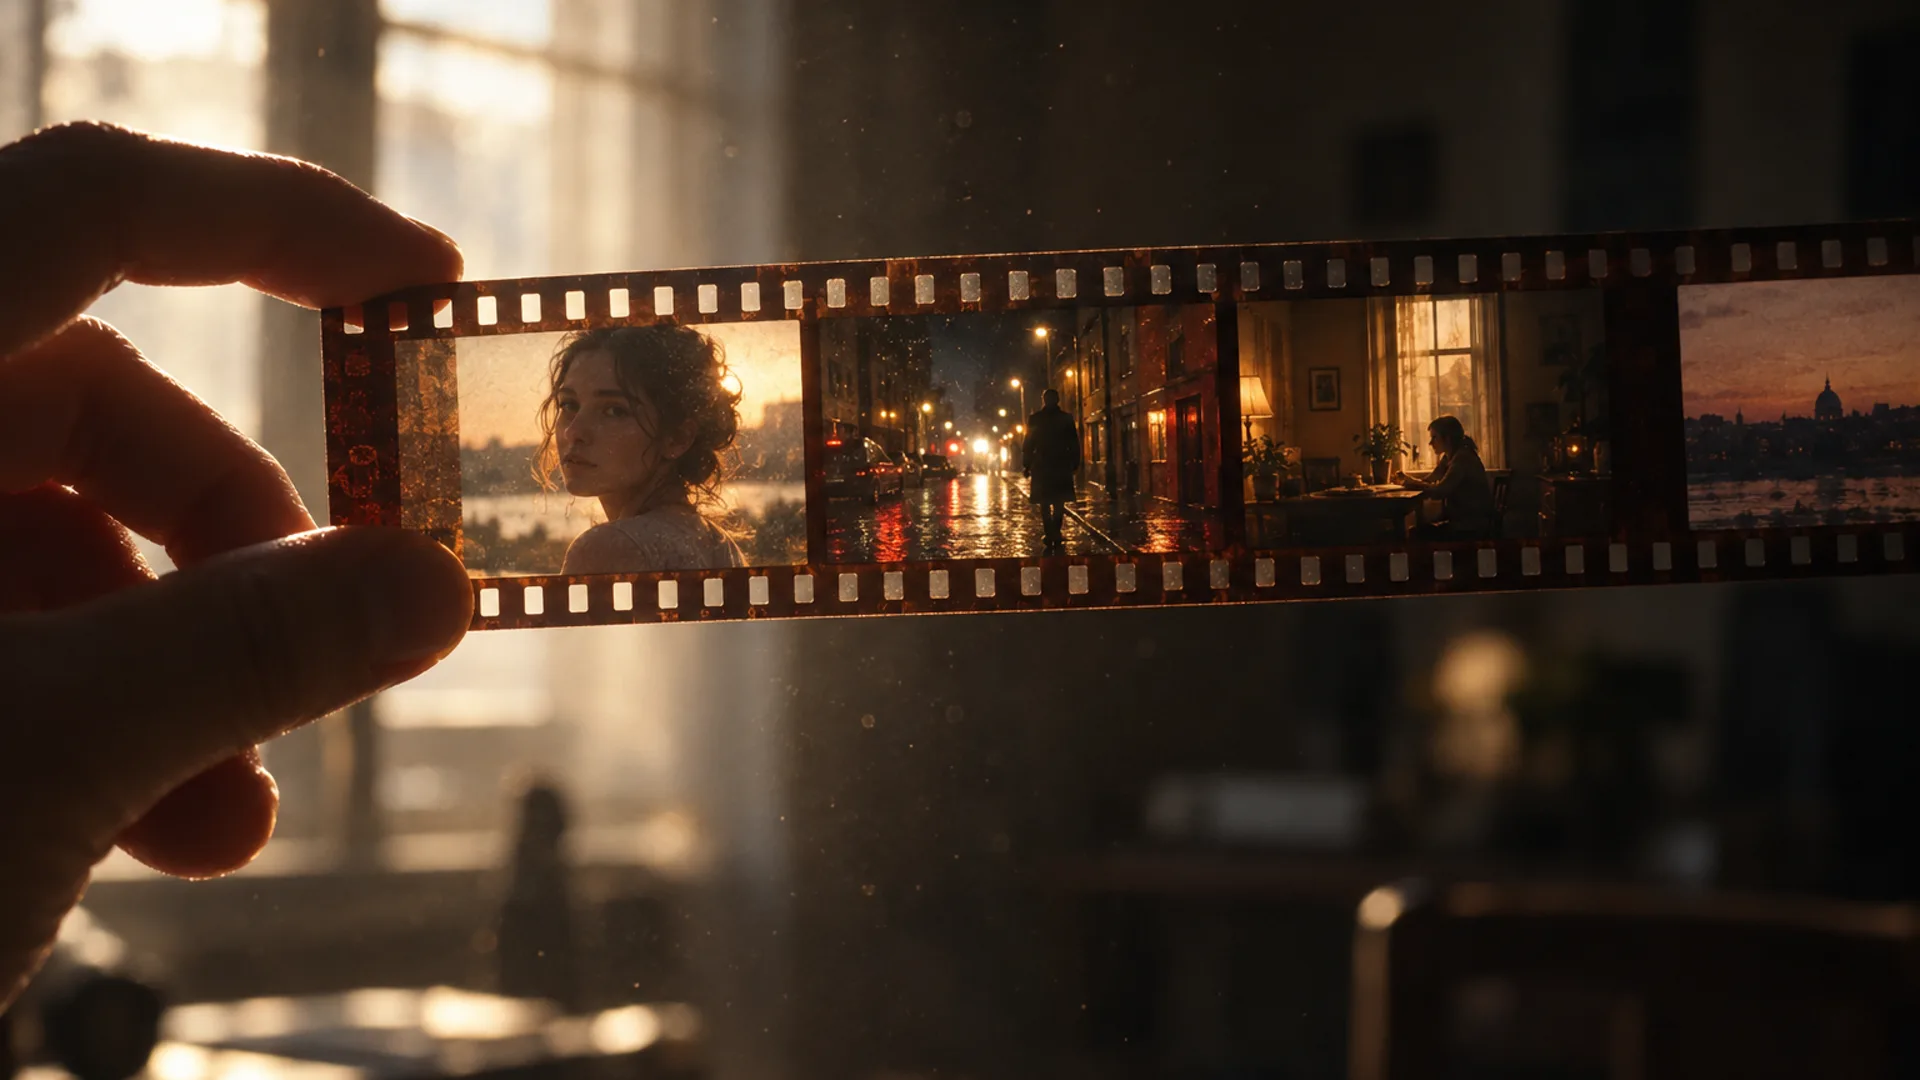
Soul Cinema is the branch of the Soul family that renders stills: you describe a shot the way you would brief a cinematographer, and the model returns a film-grade frame instead of a generic render. If the names are new to you, two explainers cover the ground — what the model does is in Higgsfield Soul Cinema, and the two-part release label behind “Soul v2 and Cinema” is untangled in What is Soul v2 & Cinema?
This tutorial walks the four steps that take one session from an empty console to a locked first frame. Every credit and price figure in it comes from the pricing breakdown, and the console itself is described in Soul Cinema Studio.
Step 1 and 2: choose the model, write the brief
The render is decided before it is generated — first by the model choice, then by a brief that fixes five things. The console takes one five-line brief per frame, and the lines work best written in the same order every time. Each line is covered in depth in Higgsfield Soul Cinema prompts, and what the second-generation model changes is in Higgsfield Soul 2.0.
- Subject — one person or one object and what they are doing. A second subject doubles the number of ways a frame can drift.
- Light — direction and source: window left, bare bulb above, neon from the right. One light source is a test; three is a scene.
- Lens — focal length and framing: 35mm wide, 85mm medium-close, and the height the camera sits at.
- Palette — two or three colours, named with values where you care about them. A colour left as “warm” is a different coat on every render; a hex value is the same coat.
- Stock — the film language: fine grain daylight stock for bright frames, pushed night stock when the grain is part of the lighting story.
Step 3: prove the look with a 2K test
Render one frame small before committing to anything. A 2K test costs 1 credit, a 4K render costs 2 and an 8K costs 4, with failed frames refunded automatically — the full arithmetic is on the pricing page.
Judge the test on three questions: does the light read as motivated — could you point to the lamp the key is coming from? Does the grain sit in the shadows rather than frost the whole frame? And does the palette land where the brief asked, or has it averaged into something warmer and vaguer? Only frames that pass all three are worth locking.

Step 4: lock what you keep
Two locks turn a successful test into a repeatable look. Soul ID holds the face and wardrobe reference across a sequence of up to six frames, and palette lock pins the requested colour values so they survive a change of lighting or size.
Lock from the reference frame, not the styled one — a lock taken from a styled frame bakes the styling into everything it touches. Then re-render keepers at their final size instead of upscaling a test: a 2K frame upscaled to 8K carries grain twice as large as the model intended. First session on the console? The getting-started walkthrough covers the same ground from zero.
The first-session mistakes worth avoiding
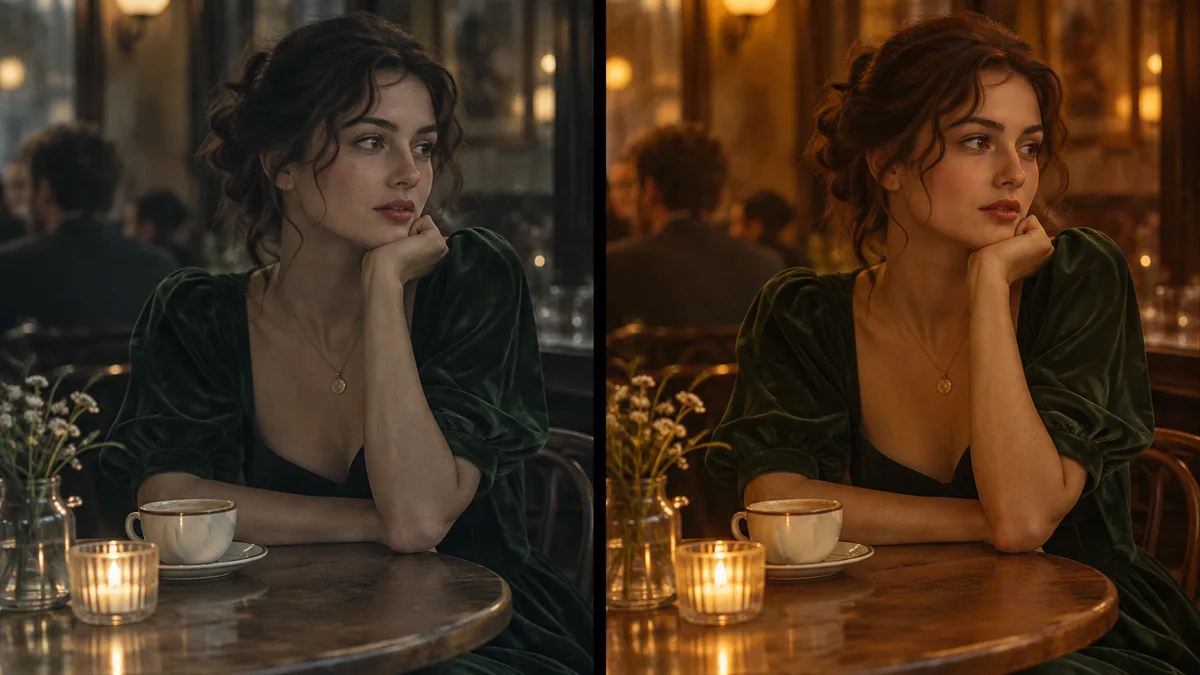
Almost every wasted credit in a first session comes from one of five habits:
- Changing two variables in one test — light and palette together — then not knowing which one failed.
- Judging at full size: composition and light are decided at 2K; 8K only sharpens a decision already made.
- Locking from a styled frame, which bakes the styling into every frame the lock touches.
- Re-describing the character from memory instead of copying the cast lines verbatim — the habit that Soul Cast exists to break.
- Comparing renders across sessions without the brief in front of you: a look is only reproducible if the lines are.
Frequently asked
How do I get access to Higgsfield Soul Cinema?
Through the console on this site: create an account, choose a plan and open the studio. There is no free tier — plans start at $12 a month for 120 credits, and a 2K test frame costs 1 credit, so a first session fits comfortably inside the Basic allowance.
What should the very first render be?
One subject, one light source, 2K. A single lamp against a simple background tells you how the model treats shadow, grain and skin — three answers from one credit.
Do failed renders cost credits?
No. Failed frames are refunded automatically, so a test that goes wrong costs time, not credits, and the refund shows back up in the credit balance.
Do I need Soul ID for a single frame?
No — the lock matters the moment a frame is re-run. If you will re-render at a new size or a new angle, or render a second frame with the same person, lock first.
Can one brief cover a whole sequence?
Yes, that is the design: keep the subject, palette and stock lines verbatim and change one camera line per frame. Six frames per sequence is the Soul ID window.
Your first cinematic frame is one prompt away
Sign in with Google, pick a plan and keep every still at the resolution the model produced. Plans from $12/month, cancel at any time. No watermark, no re-encode.