
AI food photography
A texture-first food workflow: hard side light, backlit steam, honest moisture and a six-frame menu sequence that stays consistent.
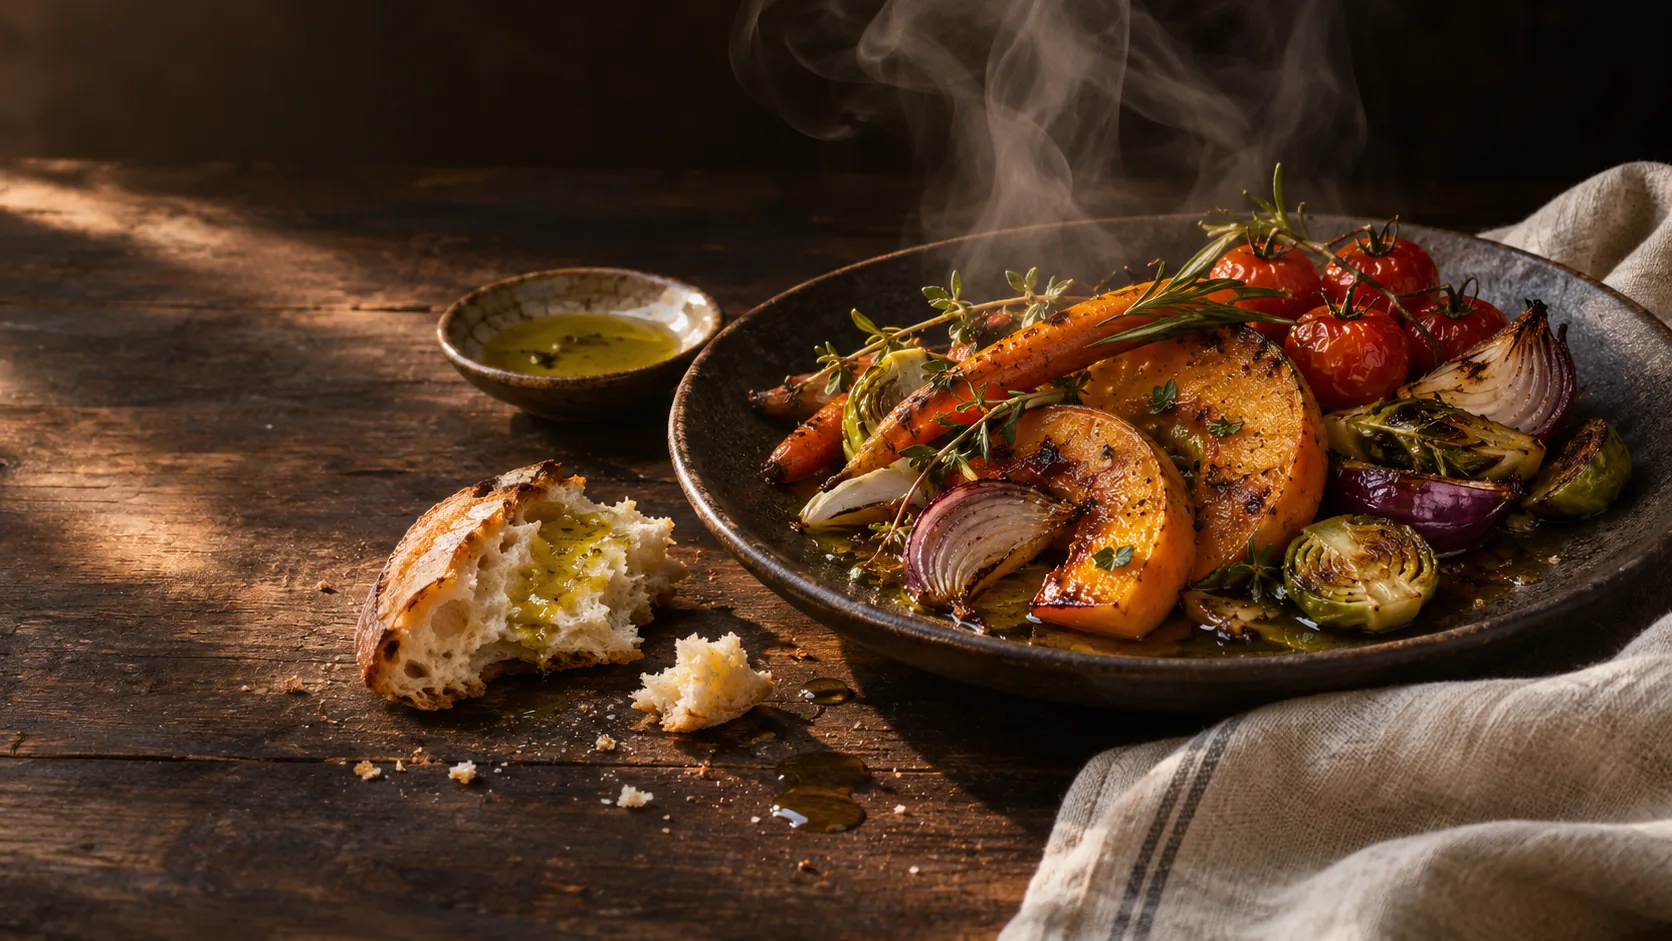
What makes food photography cinematic?
Food photography is about appetite before it is about arrangement. The viewer should feel the heat, the crisp edge, the sauce or the cold glass. That comes from texture and light, not from a busy table. A cinematic food frame has one hero, one light idea and a clear sense of whether the dish was just made or just served.
The usual failure is flat, even light that shows everything and makes nothing delicious. Hard side light gives texture, backlight makes steam visible and soft overhead light keeps a menu clean. Choose the light by the story the dish is telling.
The product guide covers surface and reflection control; this page covers food texture, steam and styling. The lighting cheat sheet has the source vocabulary.
Which light should you use for each food?
Hard side light reveals crust, char and crumb. Backlight makes steam, oil and translucent ingredients glow. Soft overhead light keeps a menu or recipe card clean and legible. Window light gives a natural, domestic feel. Direct flash gives a raw snapshot, which suits casual food and night markets.
Match the light to the food’s best quality. A roast wants texture and a long shadow; a bowl of soup wants steam and a highlight; a salad wants freshness and a clean background; a cocktail wants a backlit edge and condensation.
| Light | What it sells | Best for | Watch out for |
|---|---|---|---|
| Hard side light | Texture, crust, char, crumb. | Roasts, bread, grilled food, rustic plates. | Harsh shadows on sauce or skin. |
| Backlight | Steam, oil, translucency, glow. | Soup, tea, cocktails, citrus, honey. | The front of the dish can go dark. |
| Soft overhead | Clarity and even color. | Menus, recipe cards, flat lays. | Flat, catalog-like images. |
| Window light | Natural, domestic calm. | Breakfast, baking, home cooking. | Soft texture and weak steam. |
| Direct flash | Raw, casual, night-market energy. | Street food, parties, candid food. | Blown highlights and hard shadows. |
| Low warm practical | Intimacy and restaurant atmosphere. | Dinner scenes, wine, candlelight. | Muddy color and lost detail. |
How do you make texture and moisture read?
Texture needs a grazing light and a surface that can catch it. Oil on a crust, char on a vegetable, crumbs on a board, condensation on a glass: these are the cues that make food feel real. Describe them as physical details, not as “delicious”.
Moisture needs a highlight. A sauce should have one bright reflection, not a uniform gloss. Steam needs a dark background and a light behind it. If the dish is dry, add a sauce, a drizzle or a cut that shows the interior.
- Name the texture: crust, crumb, char, glaze, frost.
- Give sauce one clear highlight.
- Put steam against a dark background with backlight.
- Add condensation to cold drinks and fresh produce.
- Show a cut or a torn edge to reveal the interior.
- Avoid “delicious” and “appetizing” as the only cues.
How do you stage the frame?
Keep the dish as the hero and use the table as a supporting character. A linen napkin, a worn board, a fork, a glass or a few crumbs can suggest a meal without turning the frame into a prop sale. One or two supporting objects are enough.
Leave negative space for a caption or a menu item. A dark corner, a soft background or an empty board area gives the image somewhere to breathe and gives a designer somewhere to put type.
| Element | Job | Keep it |
|---|---|---|
| Dish | Hero and appetite cue. | Largest, sharpest, best lit. |
| Utensil | Scale and human use. | One, partly out of frame. |
| Linen | Texture and softness. | One folded napkin or runner. |
| Crumbs / drips | Evidence of making. | A few, not a mess. |
| Drink | Context and contrast. | One glass, out of focus. |
| Background | Place and depth. | Dark, simple, quiet. |
Which ratio and crop should you deliver?
Food work usually needs 4:5 for social, 1:1 for delivery apps and menus, 16:9 for a hero or video thumbnail and 2:3 for print. Compose the dish inside the crop; a tall plate or a tall glass is easily cut in a 16:9 banner.
For delivery apps, keep the dish centered and readable at thumbnail size. For editorial, leave more negative space and let the light do the work. Render the ratio you will place instead of cropping a square image into a banner.
| Placement | Ratio | Composition note |
|---|---|---|
| Social feed | 4:5 | Dish centered, room for a caption. |
| Delivery app | 1:1 | Dish fills the frame, readable at icon size. |
| Hero banner | 16:9 | Dish on one third, negative space for copy. |
| Menu card | 4:5 or 1:1 | Clean background, consistent light. |
| Print feature | 2:3 | Tall composition, title-safe area. |
| Recipe step | 1:1 or 4:3 | Hands and process, not just the final dish. |
How do you build a menu or recipe sequence?
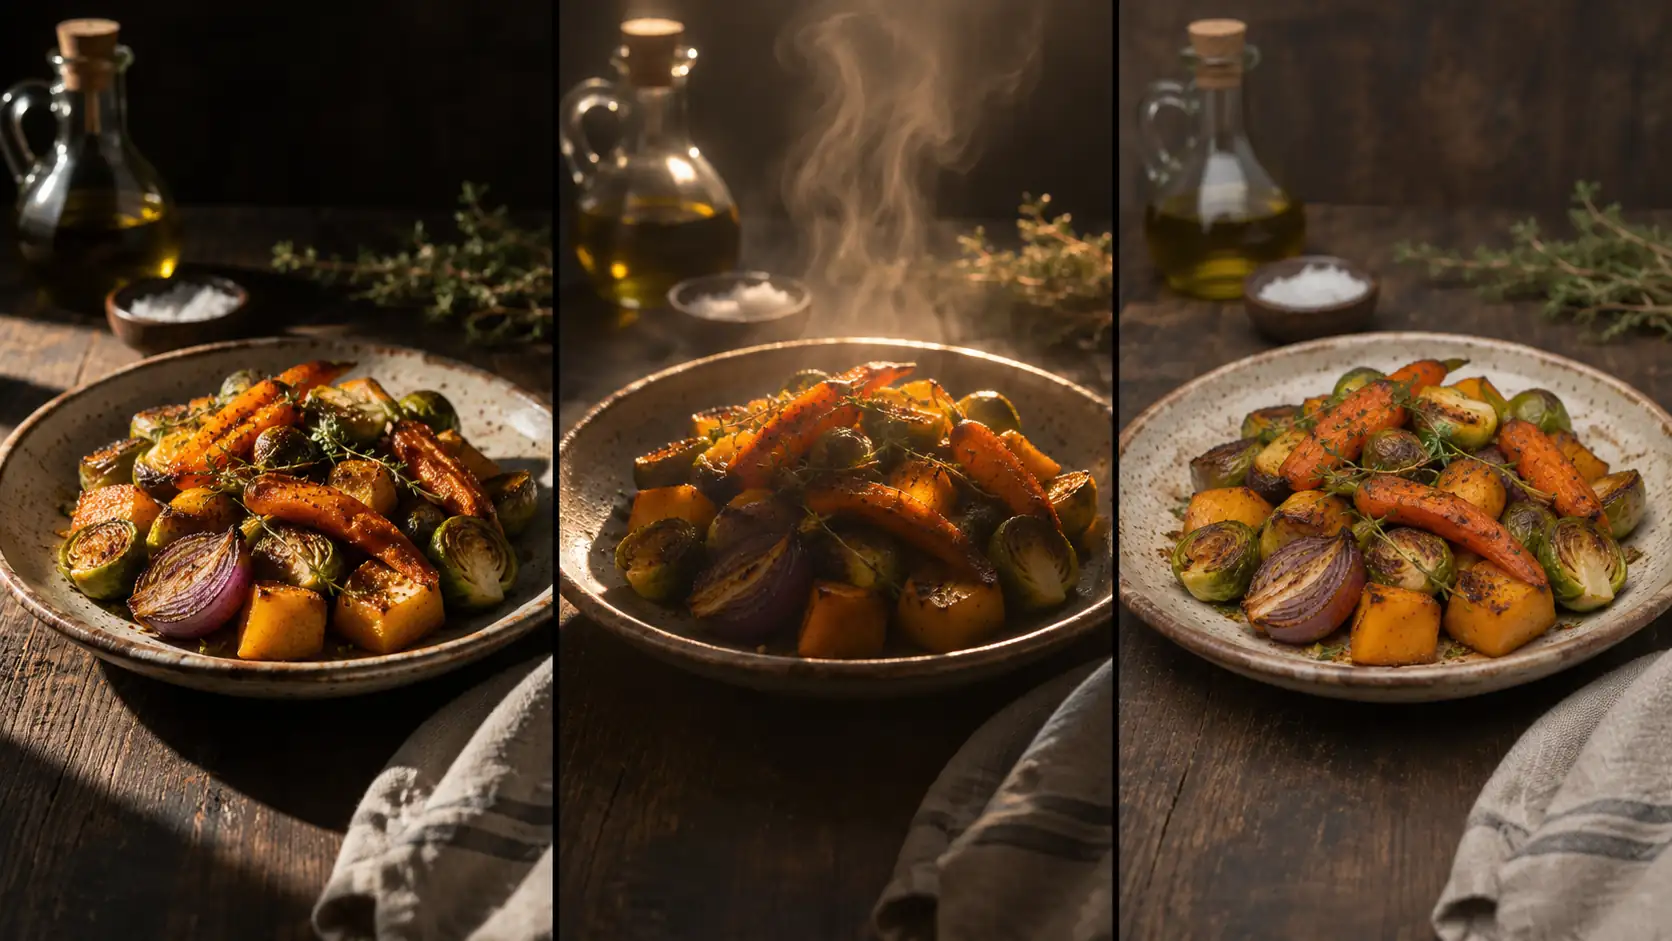
A food sequence is six frames: the hero, the texture detail, the process, the table, the first bite and the empty plate. The hero sells the dish, the detail sells the material, the process sells the making, and the empty plate sells the appetite.
Keep the light and the surface fixed across the sequence. Change the distance and the action, not the world. If the hero is hard side light on dark wood, the detail should be the same light and the same board, just closer.
| Frame | Job | Distance | Light |
|---|---|---|---|
| Hero | Appetite and shape. | Full dish. | Primary light, one highlight. |
| Texture detail | Crust, glaze, crumb. | Close crop. | Grazing side light. |
| Process | Making and heat. | Hands and pan. | Same key, wider falloff. |
| Table | Place and company. | Wide with one drink. | Ambient plus practical. |
| First bite | Desire and scale. | Fork or hand close-up. | Same key, shallow focus. |
| Empty plate | Aftermath and appetite. | Wide, crumbs and napkin. | Same light, lower angle. |
Which six food briefs should you try?
Six briefs cover the useful range: the roast, the soup, the bread, the salad, the cocktail and the street food. Each one pairs a texture with a light and a surface.
| Dish | Cue | Light | Prompt anchor |
|---|---|---|---|
| Roast vegetables | Char and caramelization. | Hard side light. | Visible char, glossy sauce, long shadow, dark wood. |
| Soup | Steam and heat. | Backlight. | Steam against a dark background, glowing broth, ceramic bowl. |
| Bread | Crust and crumb. | Side light plus soft fill. | Torn edge, flour dust, linen, warm crust. |
| Salad | Freshness and water. | Window light. | Condensation, crisp leaves, clean background. |
| Cocktail | Cold and translucency. | Backlight plus a strip. | Glowing liquid, ice, condensation, dark bar. |
| Street food | Heat and immediacy. | Direct flash. | Steam, sauce, paper wrapper, night market. |
What are common food AI mistakes?
The first mistake is flat overhead light that makes everything look like a menu photo. The second is steam with no backlight, which disappears. The third is plastic-looking sauce with no highlight. The fourth is too many props competing with the dish.
The fifth is a dish that changes shape or portion between frames. The sixth is a crop that cuts the plate or the glass. Food is a texture problem; if the light does not describe the surface, the image will not feel edible.
- Flat light with no direction.
- Steam without a backlight.
- Sauce with no highlight.
- Too many props around the hero.
- Portion or plate changing between frames.
- Crops that cut the plate or the glass.
Frequently asked
How do I write a food photography AI prompt?
Name the dish and texture, the light direction and quality, the surface and one supporting prop. For example: “roasted carrots with charred edges, hard warm side light from camera-left, dark wood table, linen napkin, visible steam, 50mm.”
How do I make food look appetizing in AI?
Describe texture and moisture instead of using “delicious”: char, crumb, glaze, condensation, steam and a sauce highlight. Give the light a direction so the surface has shape.
What is the best light for food photography?
Hard side light for texture, backlight for steam and translucency, soft overhead for menus and flat lays, window light for a natural look. Choose by the appetite cue you want to sell.
How do I photograph steam in AI?
Put the steam against a dark background and light it from behind. Steam in front of a bright background disappears; steam lit by a source becomes visible volume.
Which aspect ratio is best for food images?
4:5 for social, 1:1 for delivery apps and menus, 16:9 for banners and 2:3 for print. Render the ratio you will place and check the dish at thumbnail size.
How do I keep a food sequence consistent?
Fix the light, surface and background, then change only the distance and the action. Review the frames as a contact sheet before adding more dishes.
Your first cinematic frame is one prompt away
Sign in with Google, pick a plan and keep every still at the resolution the model produced. Plans from $12/month, cancel at any time. No watermark, no re-encode.